Deepnote is a (free) online computational notebook service.
Step-by-step guide
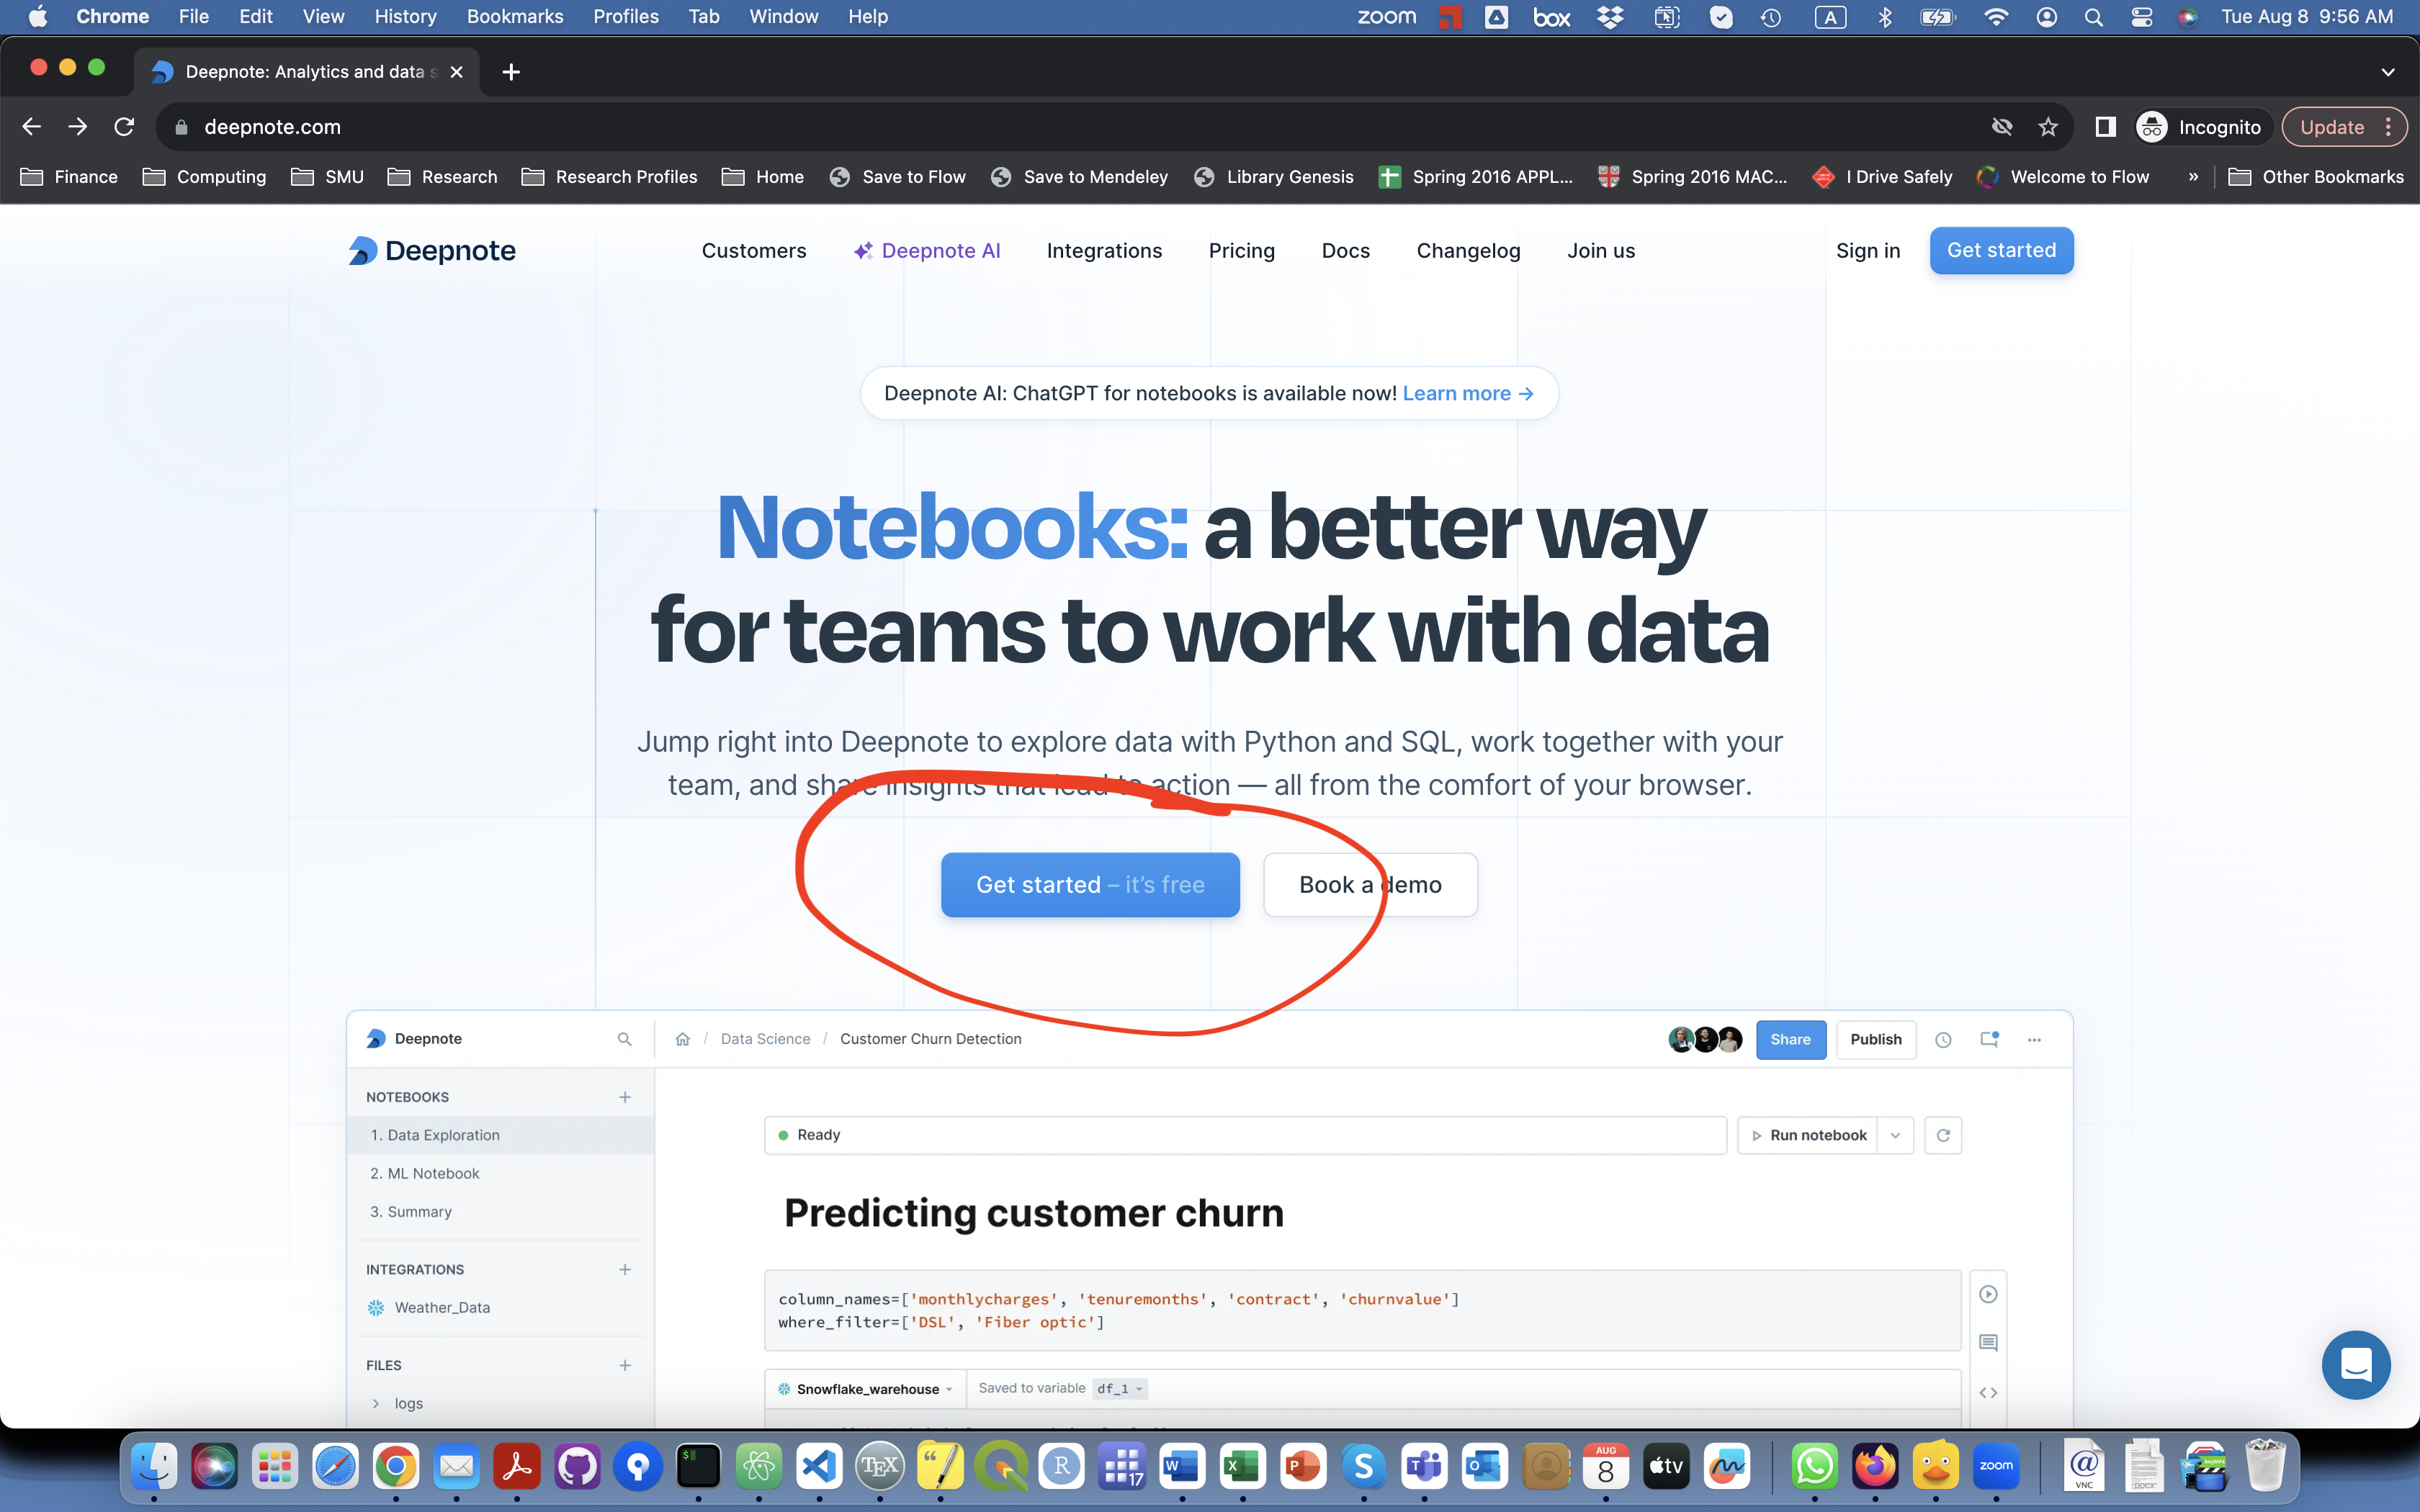
- Head over to Deepnote and click on Get Started.
-
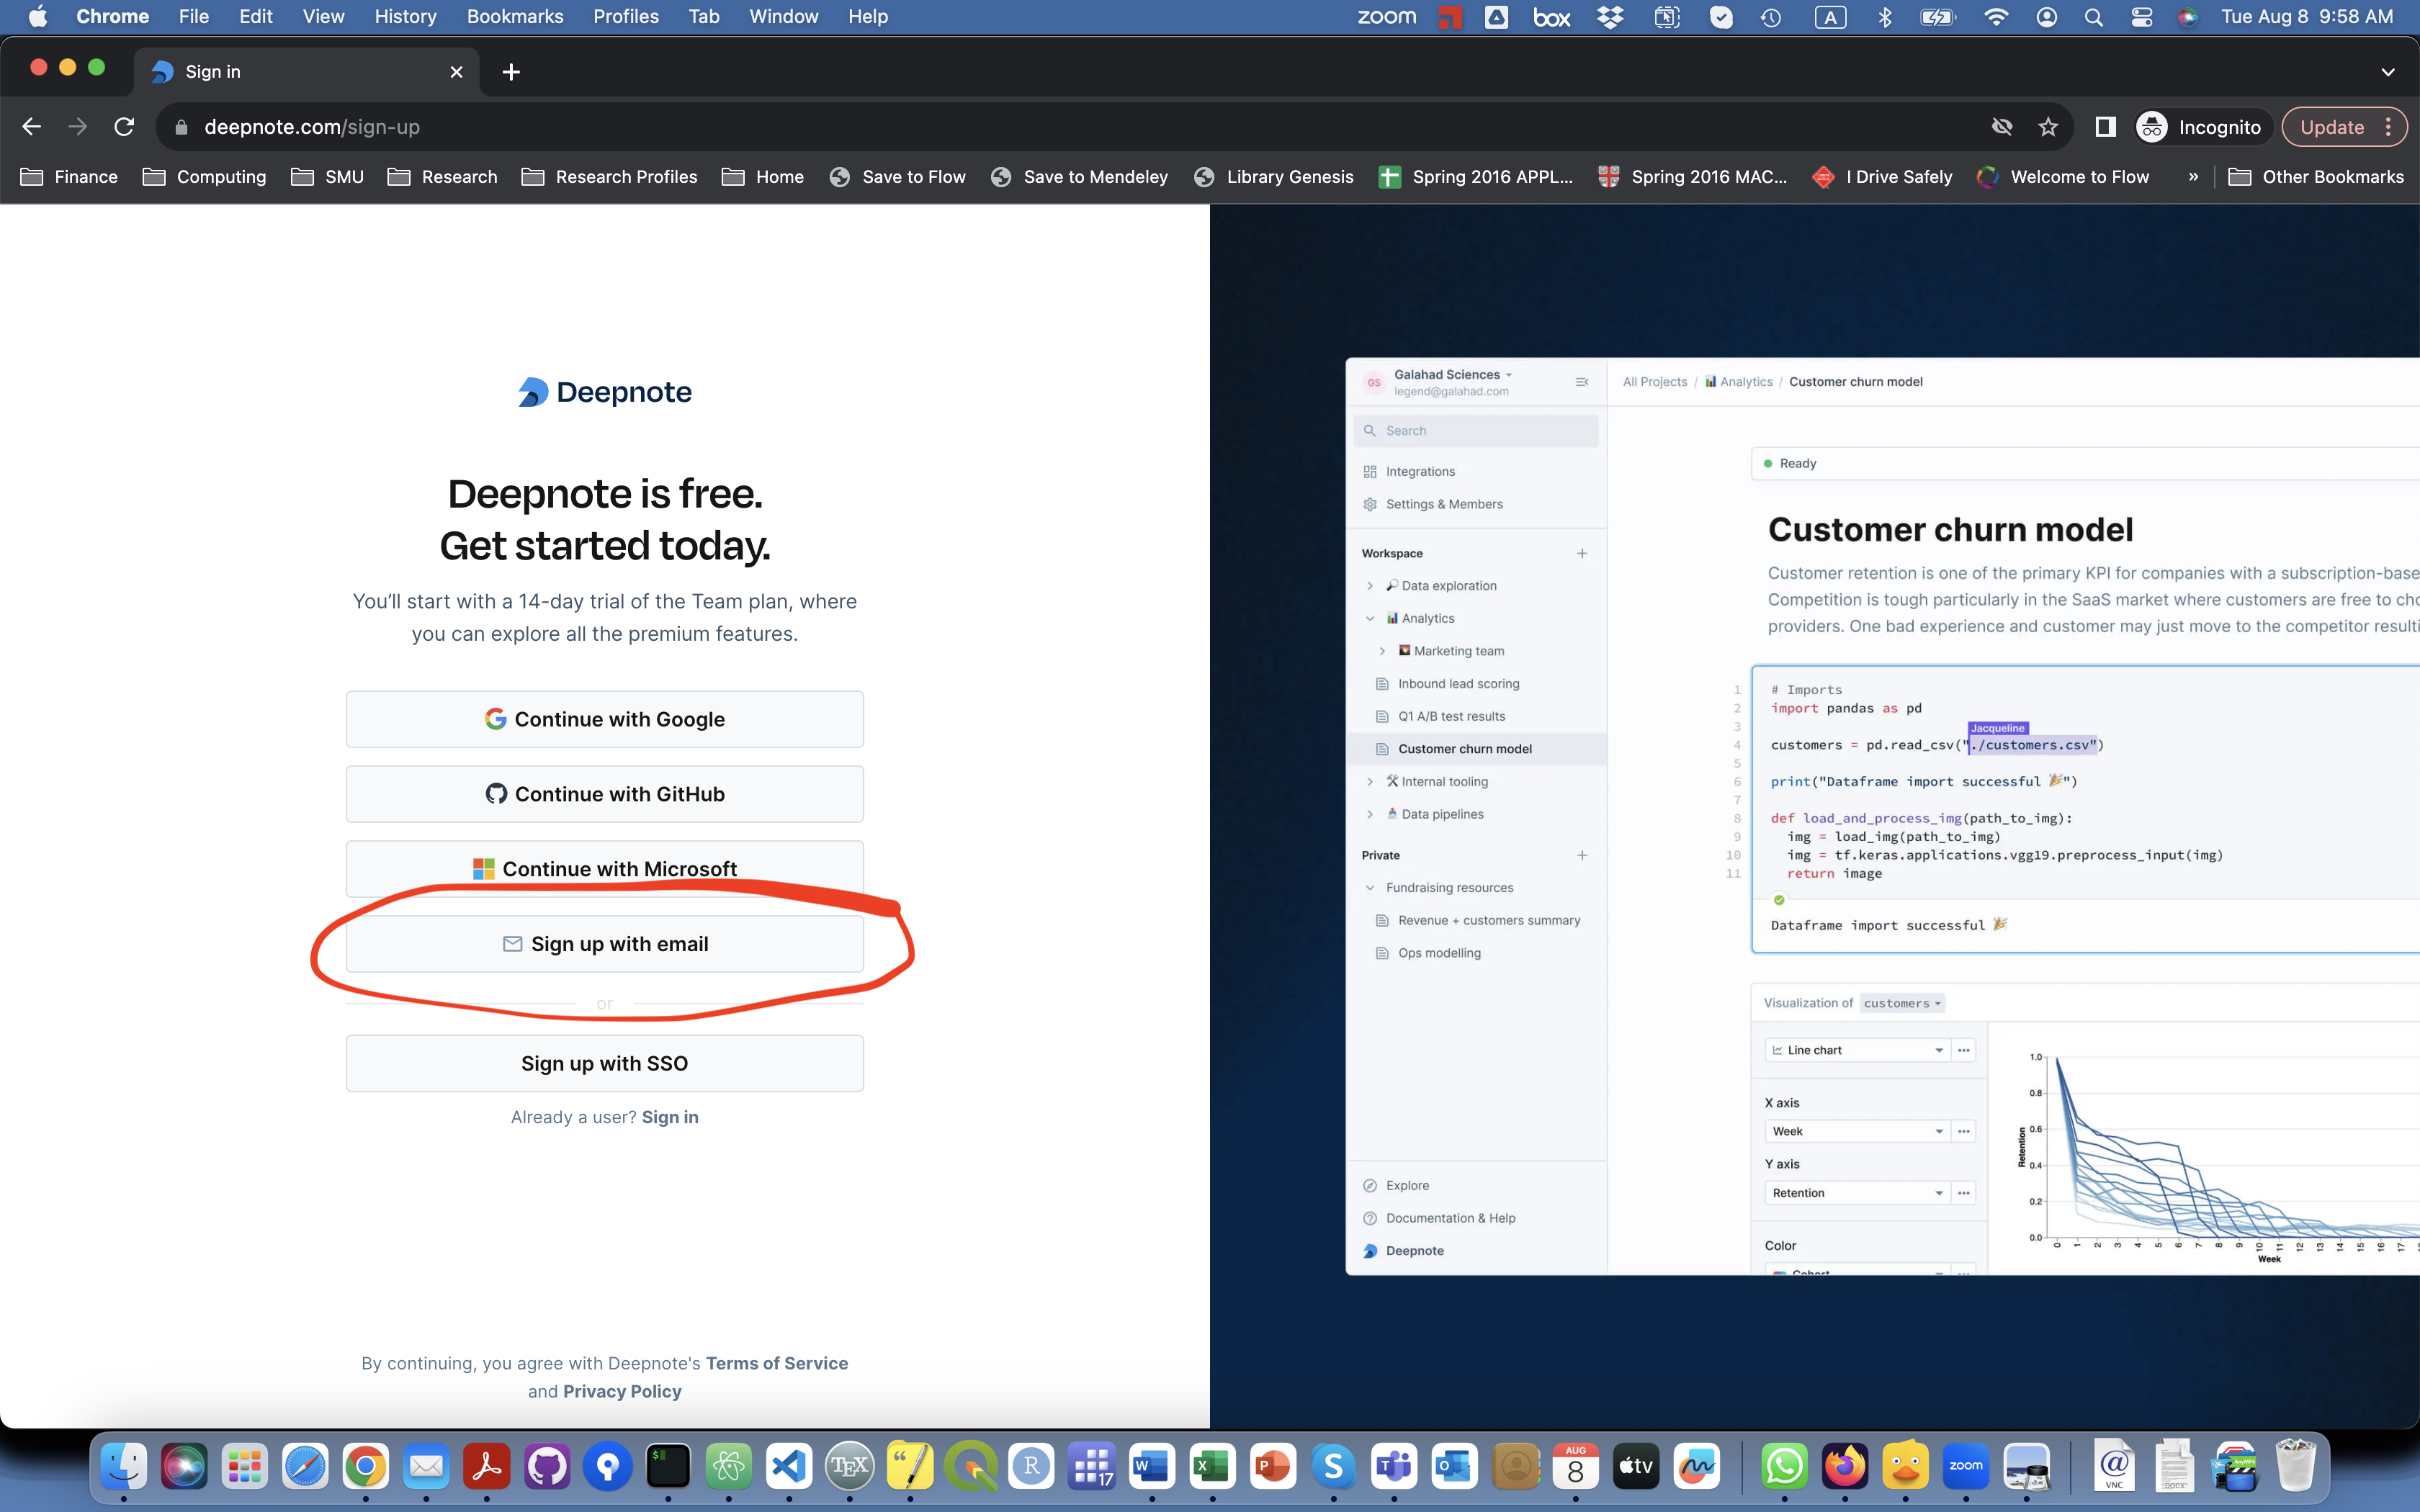
Click. on Sign up with email.
-
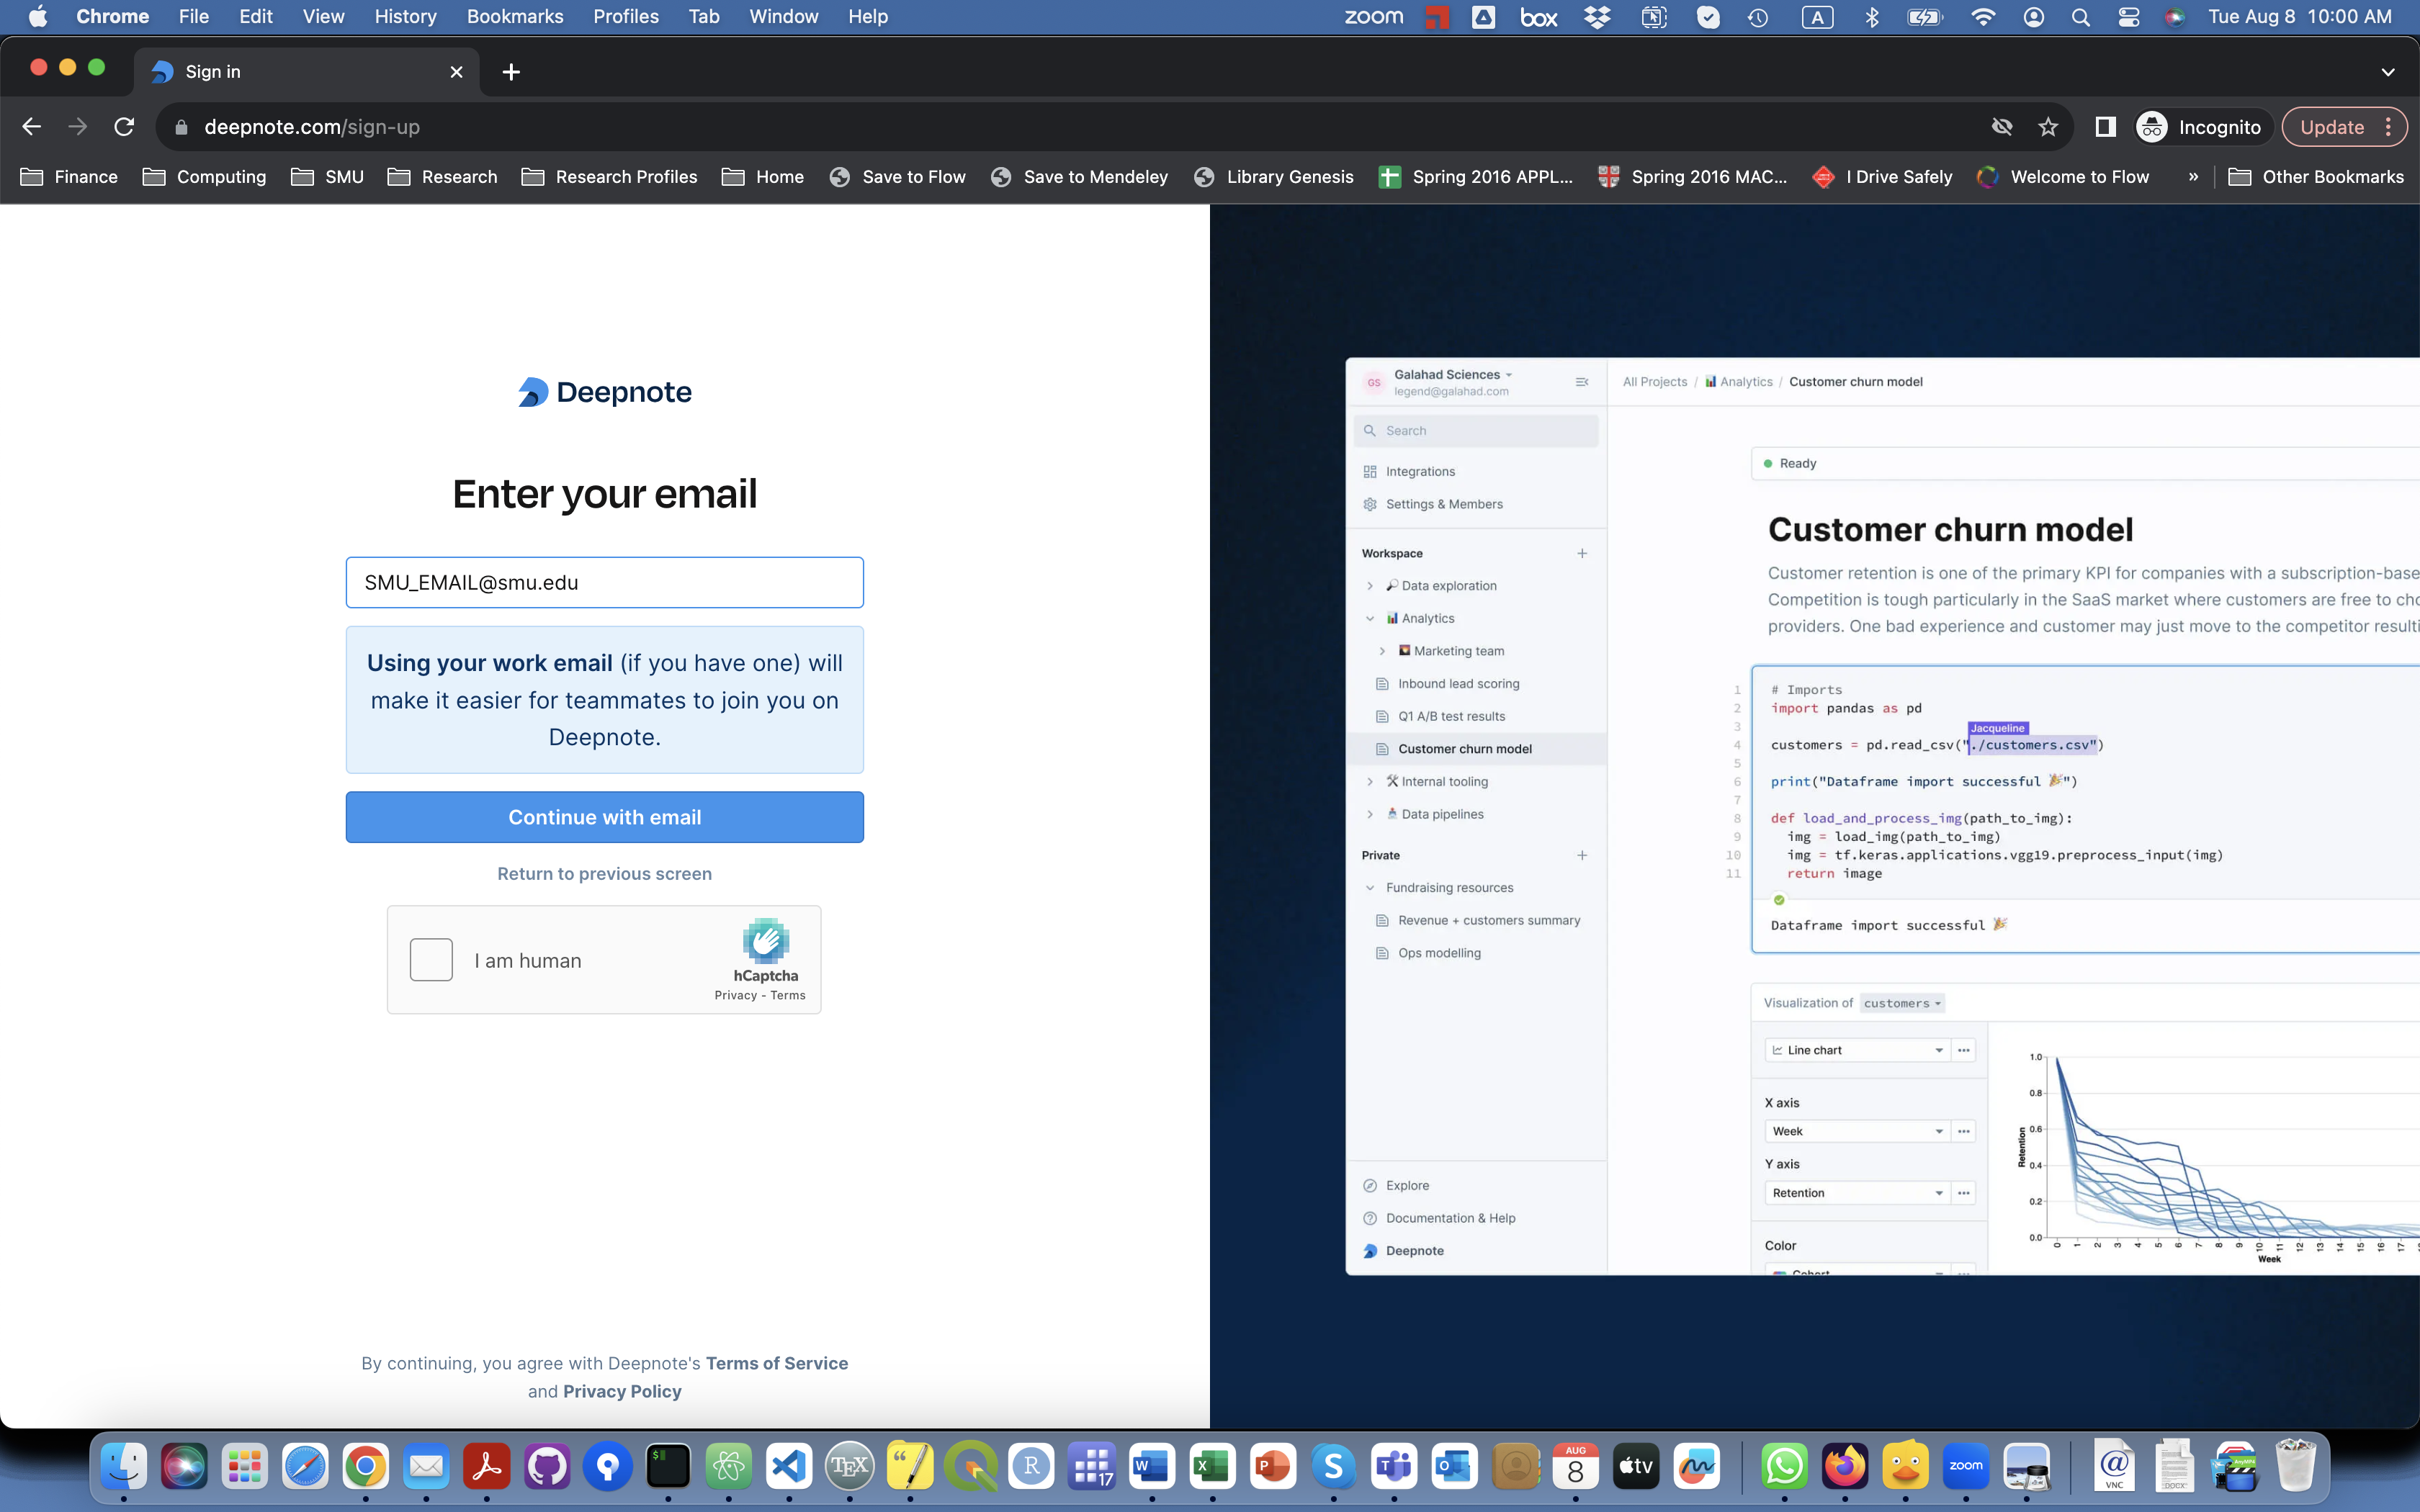
Sign up using your email address. Make sure to follow the instructions and prove you are a human!
-
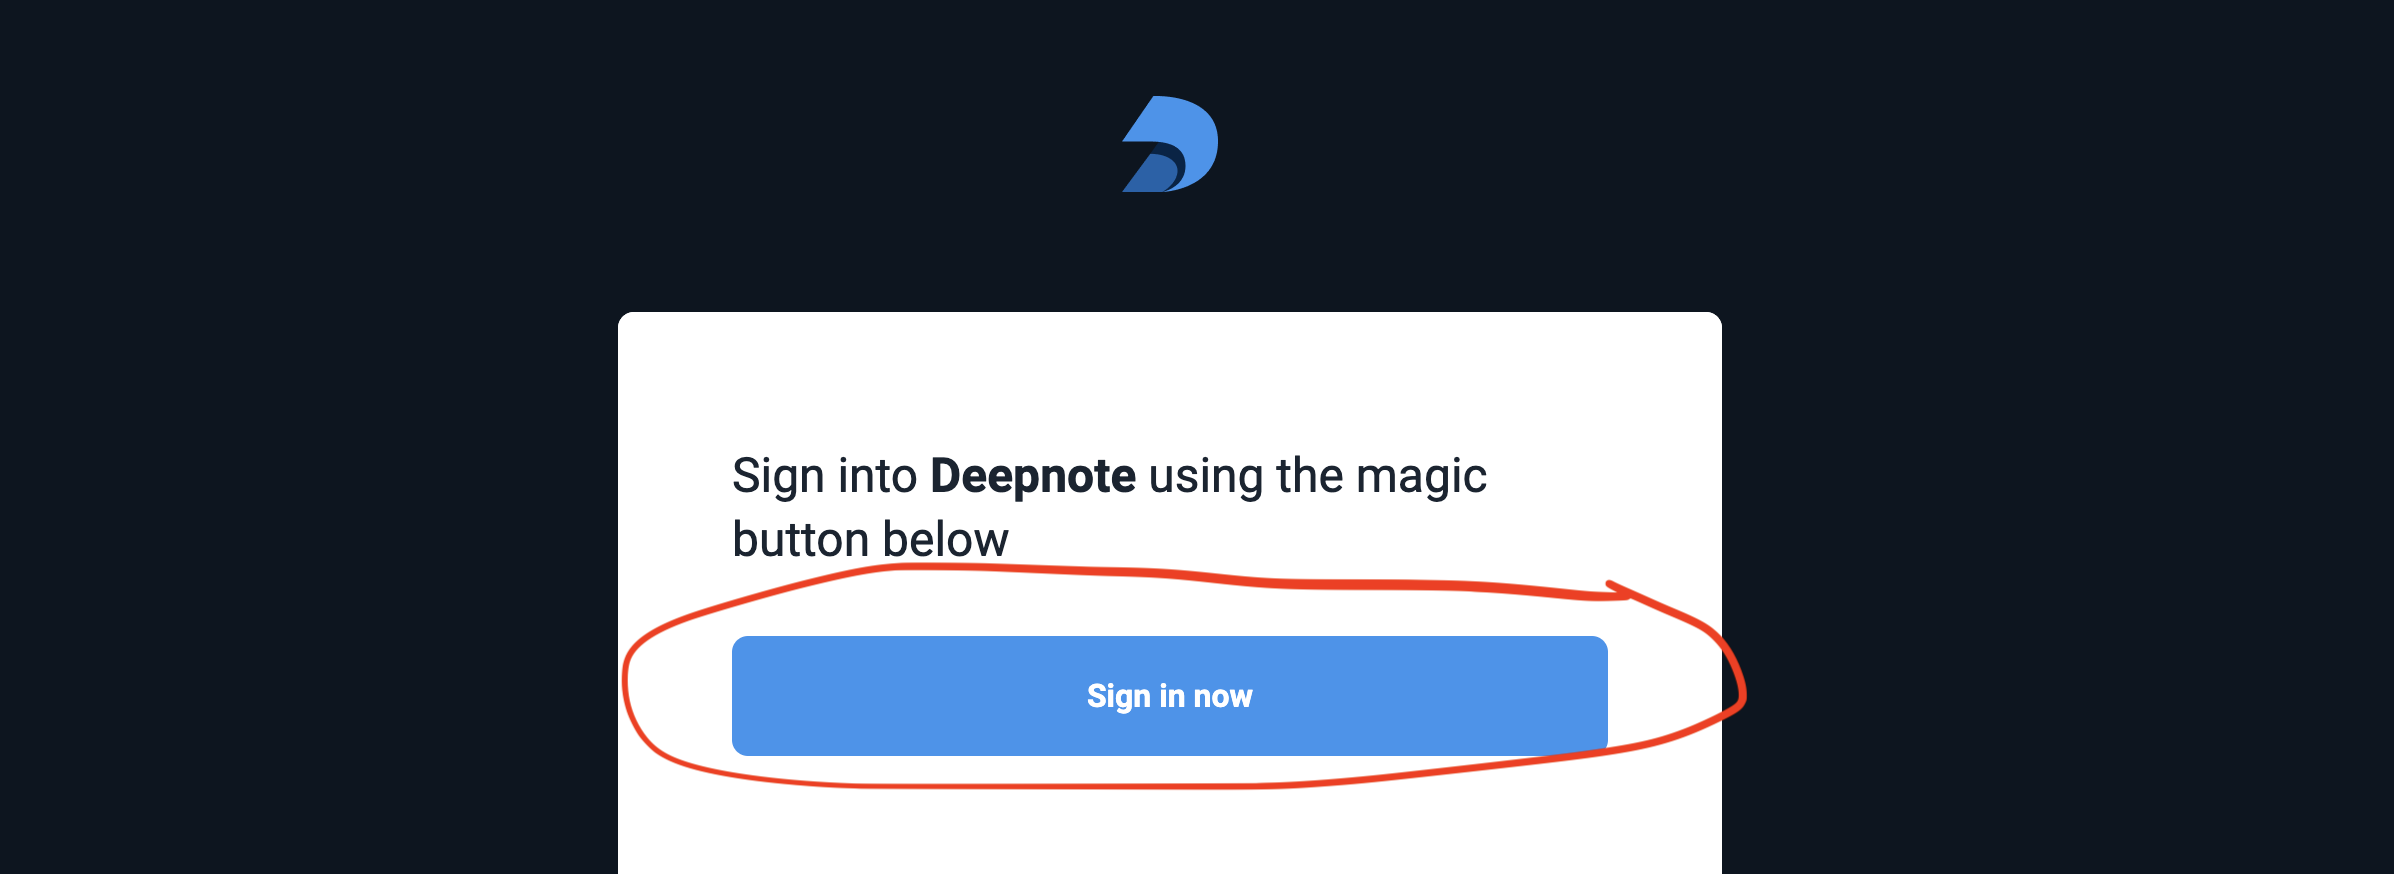
The system will send you an email to verify your account. Open your email inbox and click on the "Sign in now" image/button in the email from Deepnote. If you did not get one, check your Junk Mail Folder.
-
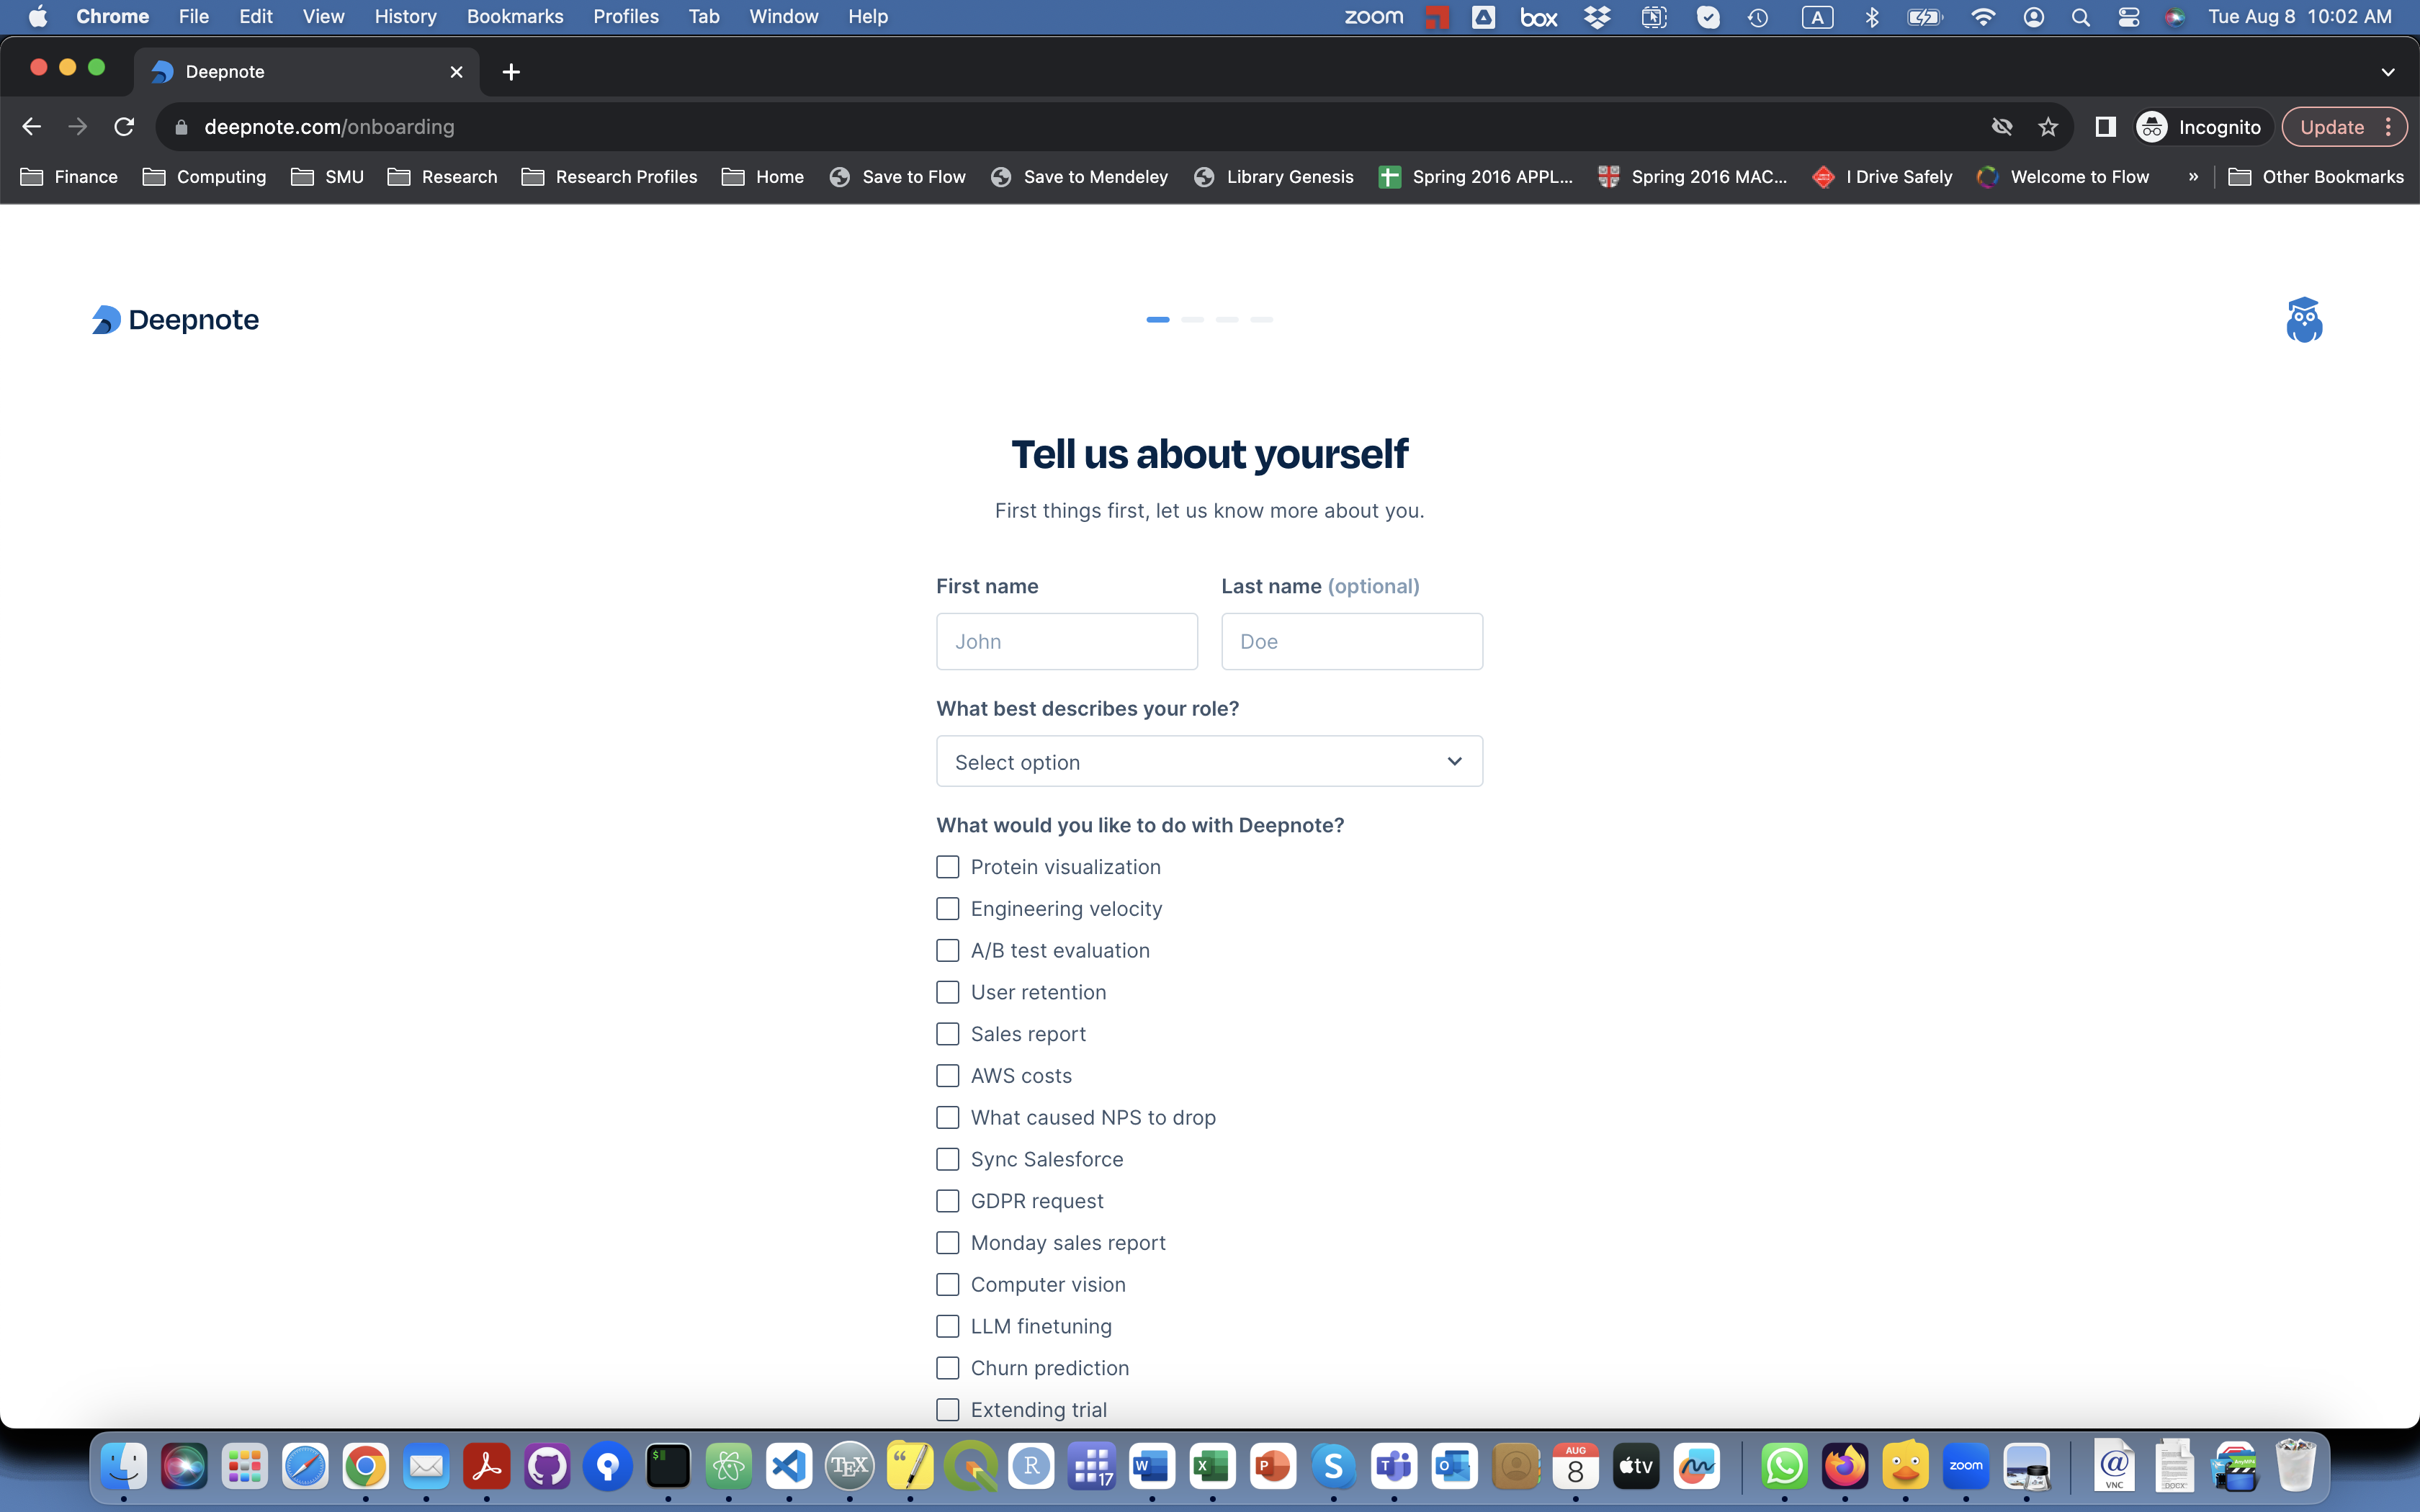
Fill out your personal information to be used with the account
-
Use EconGrowthUG-My-Projects as the name of your workspace.

-
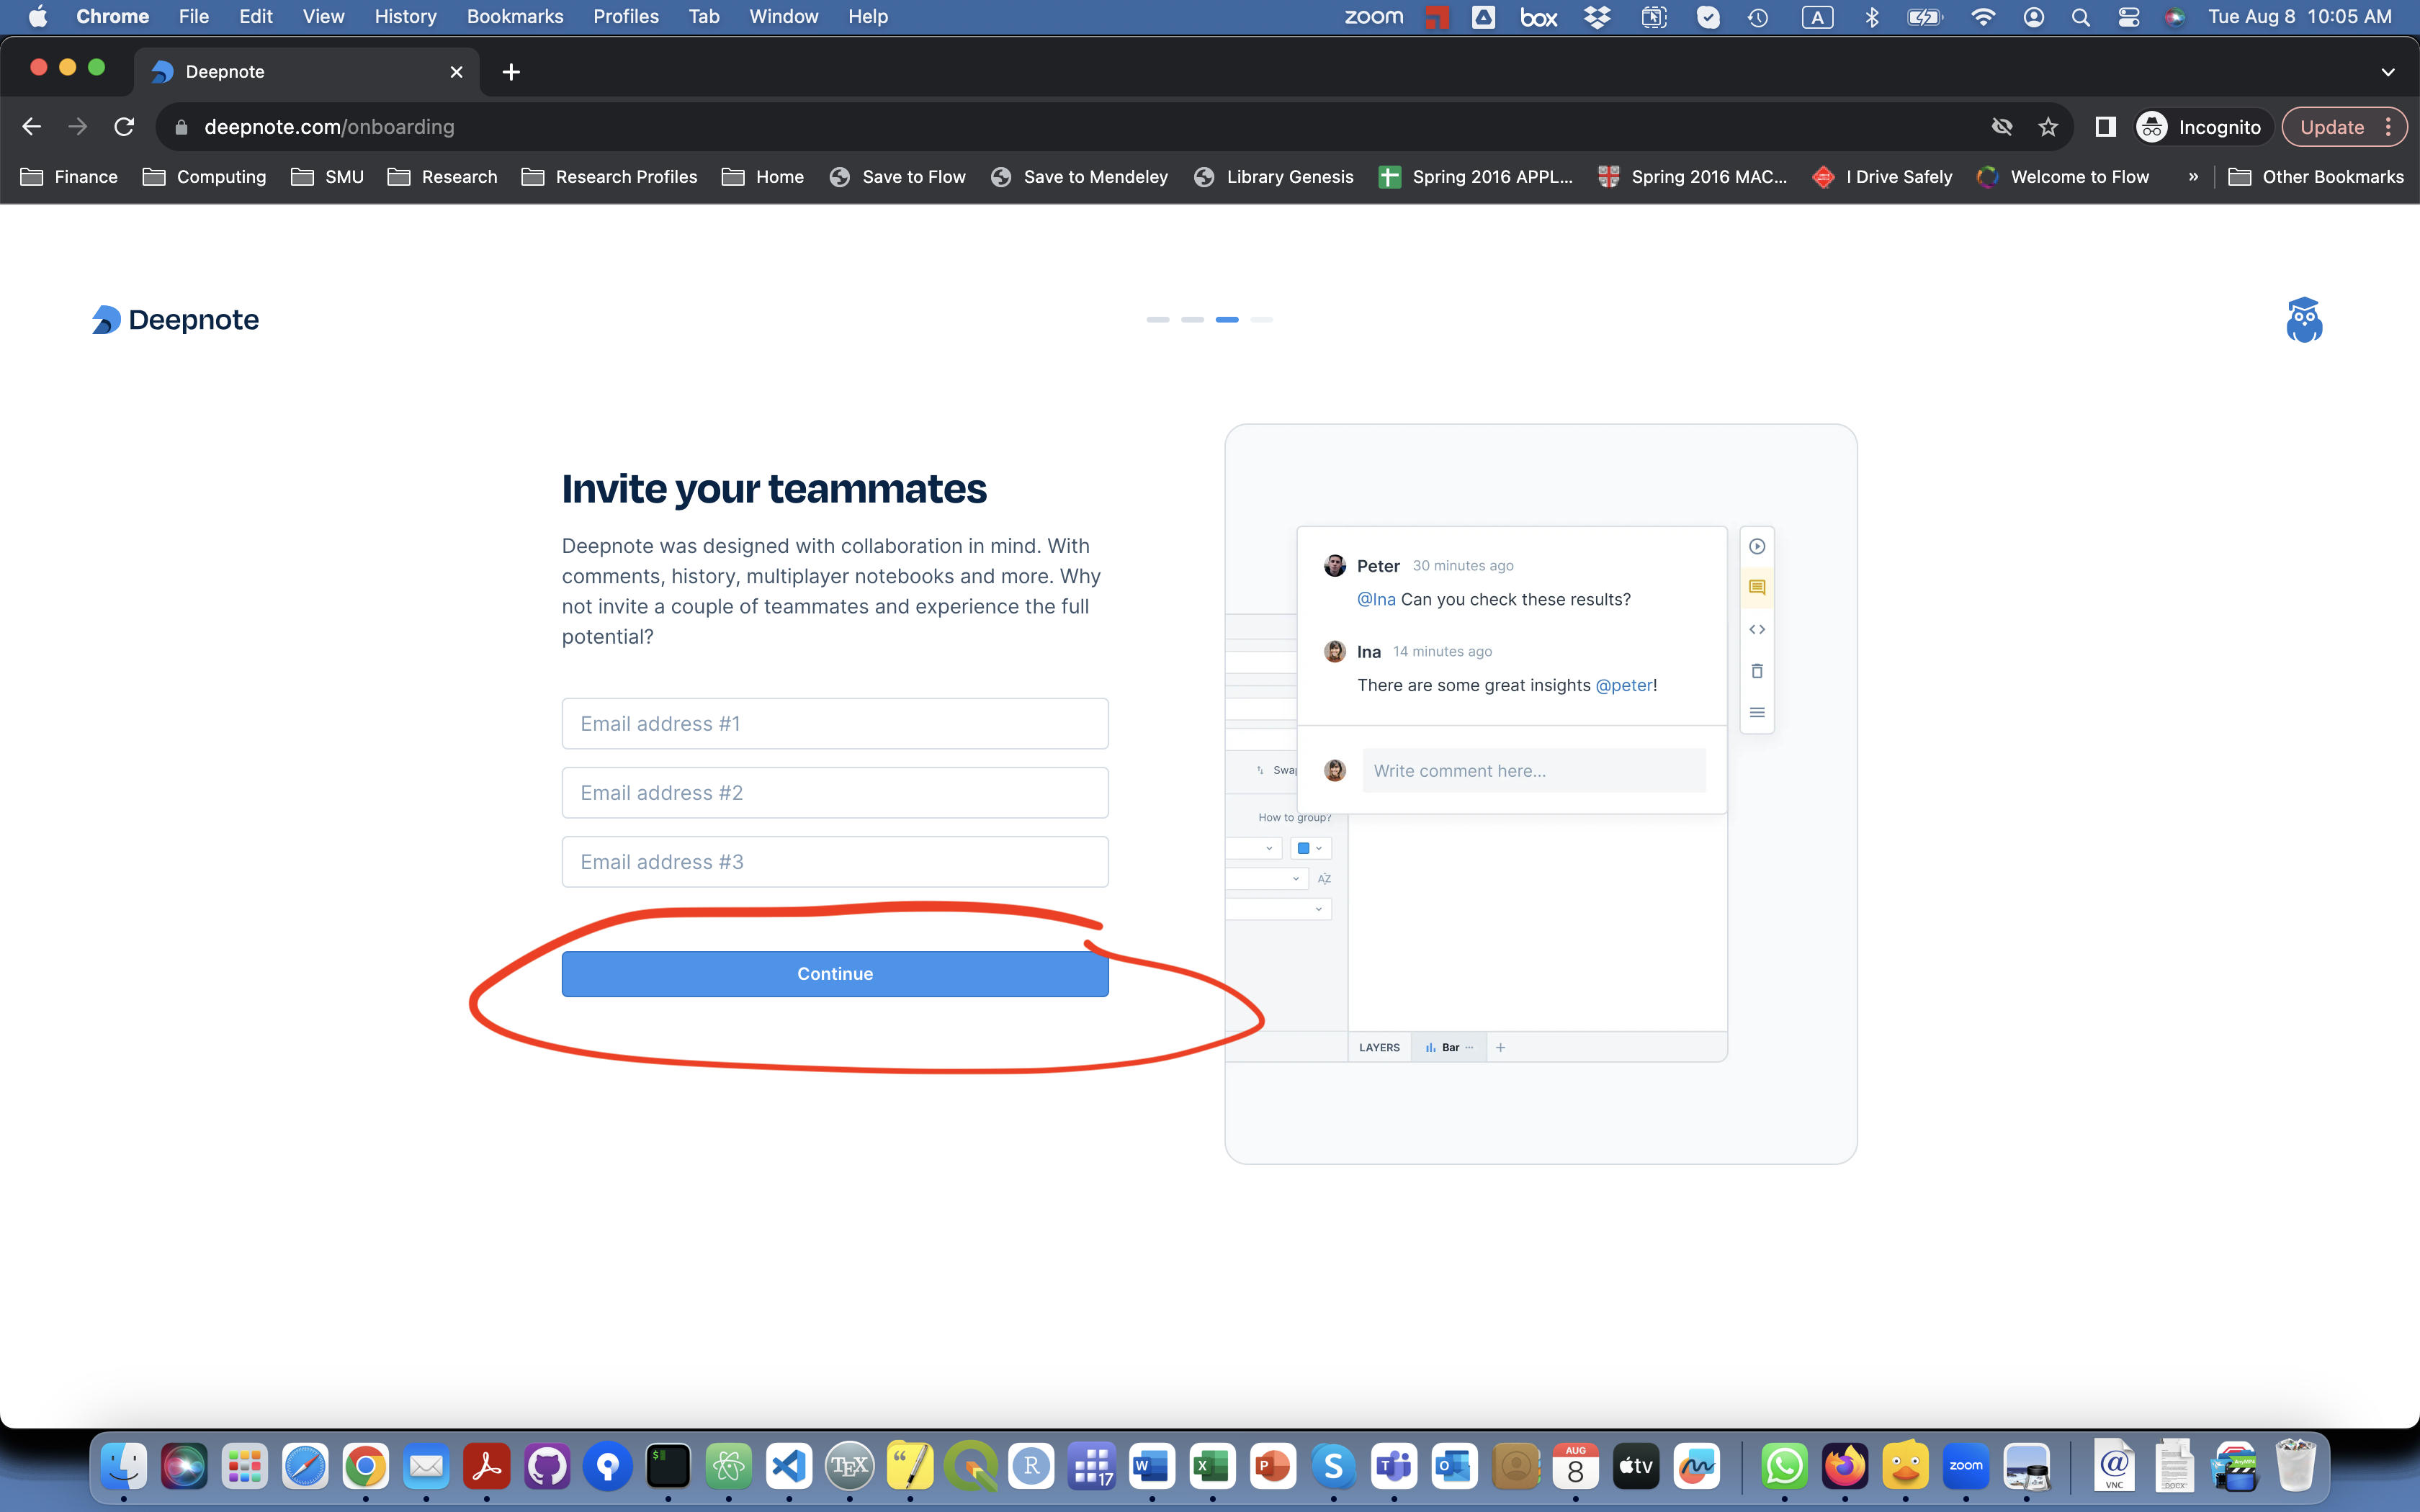
Next, you could invite Teammates if you wanted, but for now, let's not invite anyone, and continue to the next step.
-
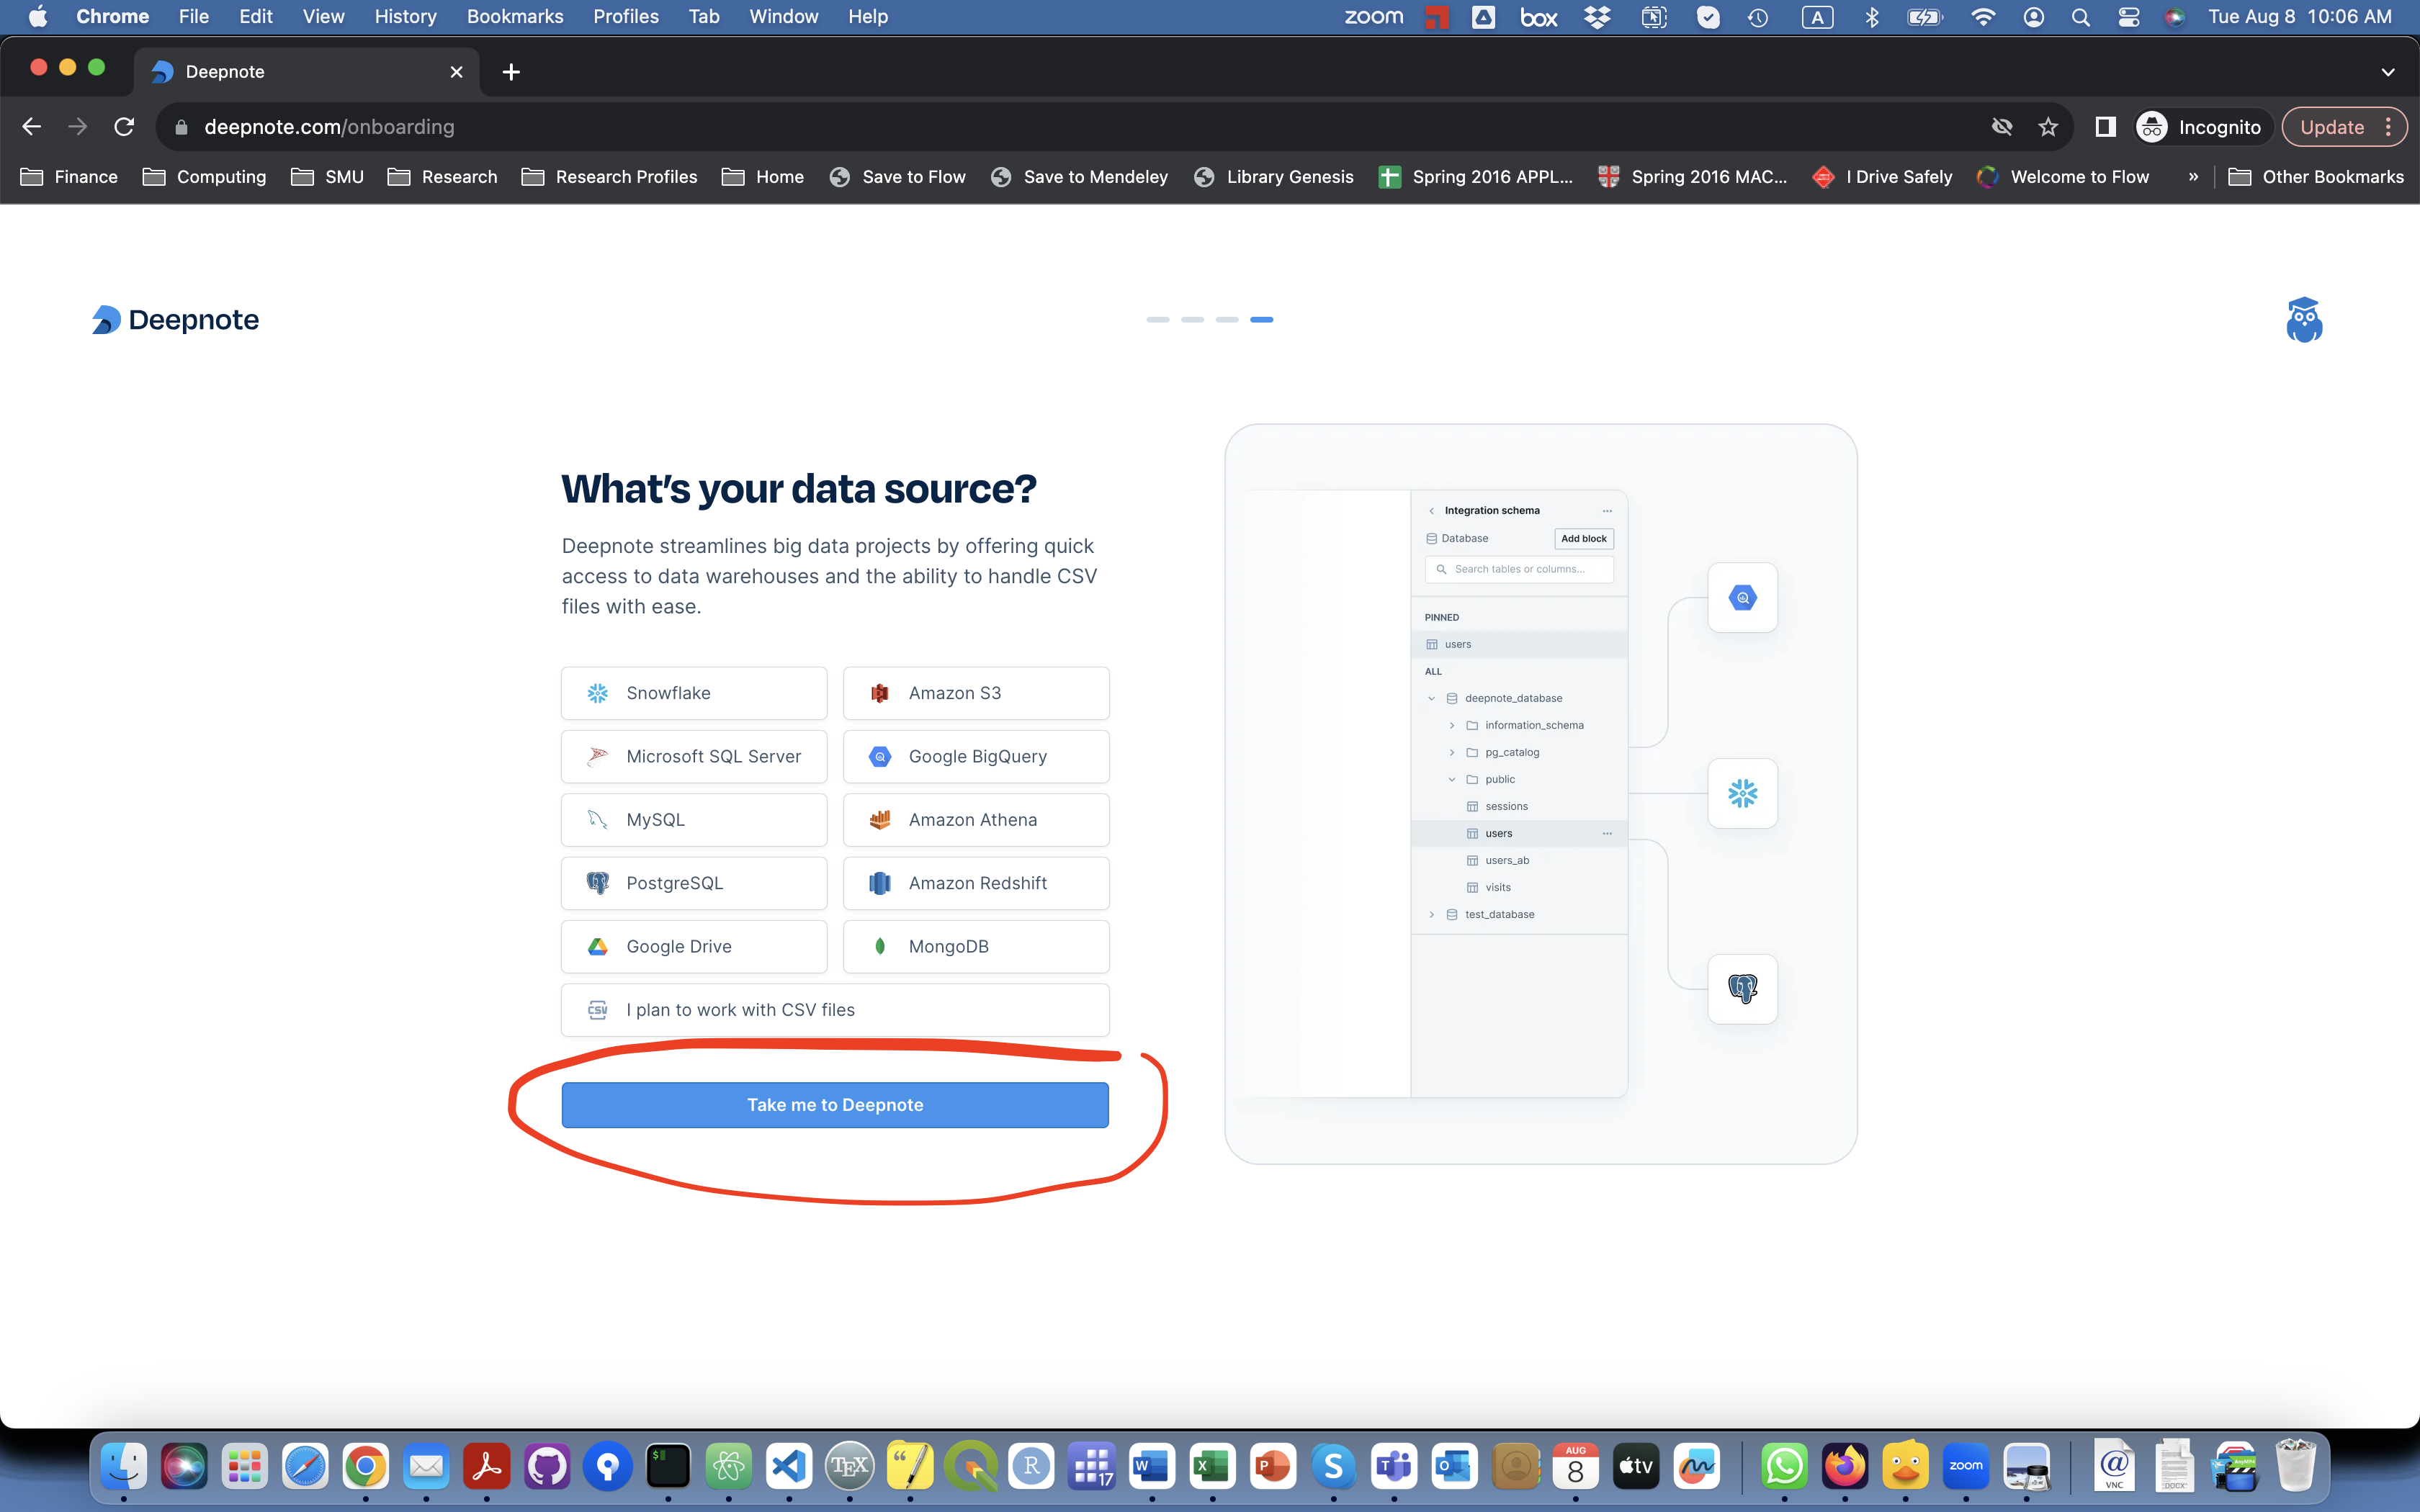
Next, it will give you the option of linking your workspace with a data source. Do not choose anything for now and continue to the next step.
-
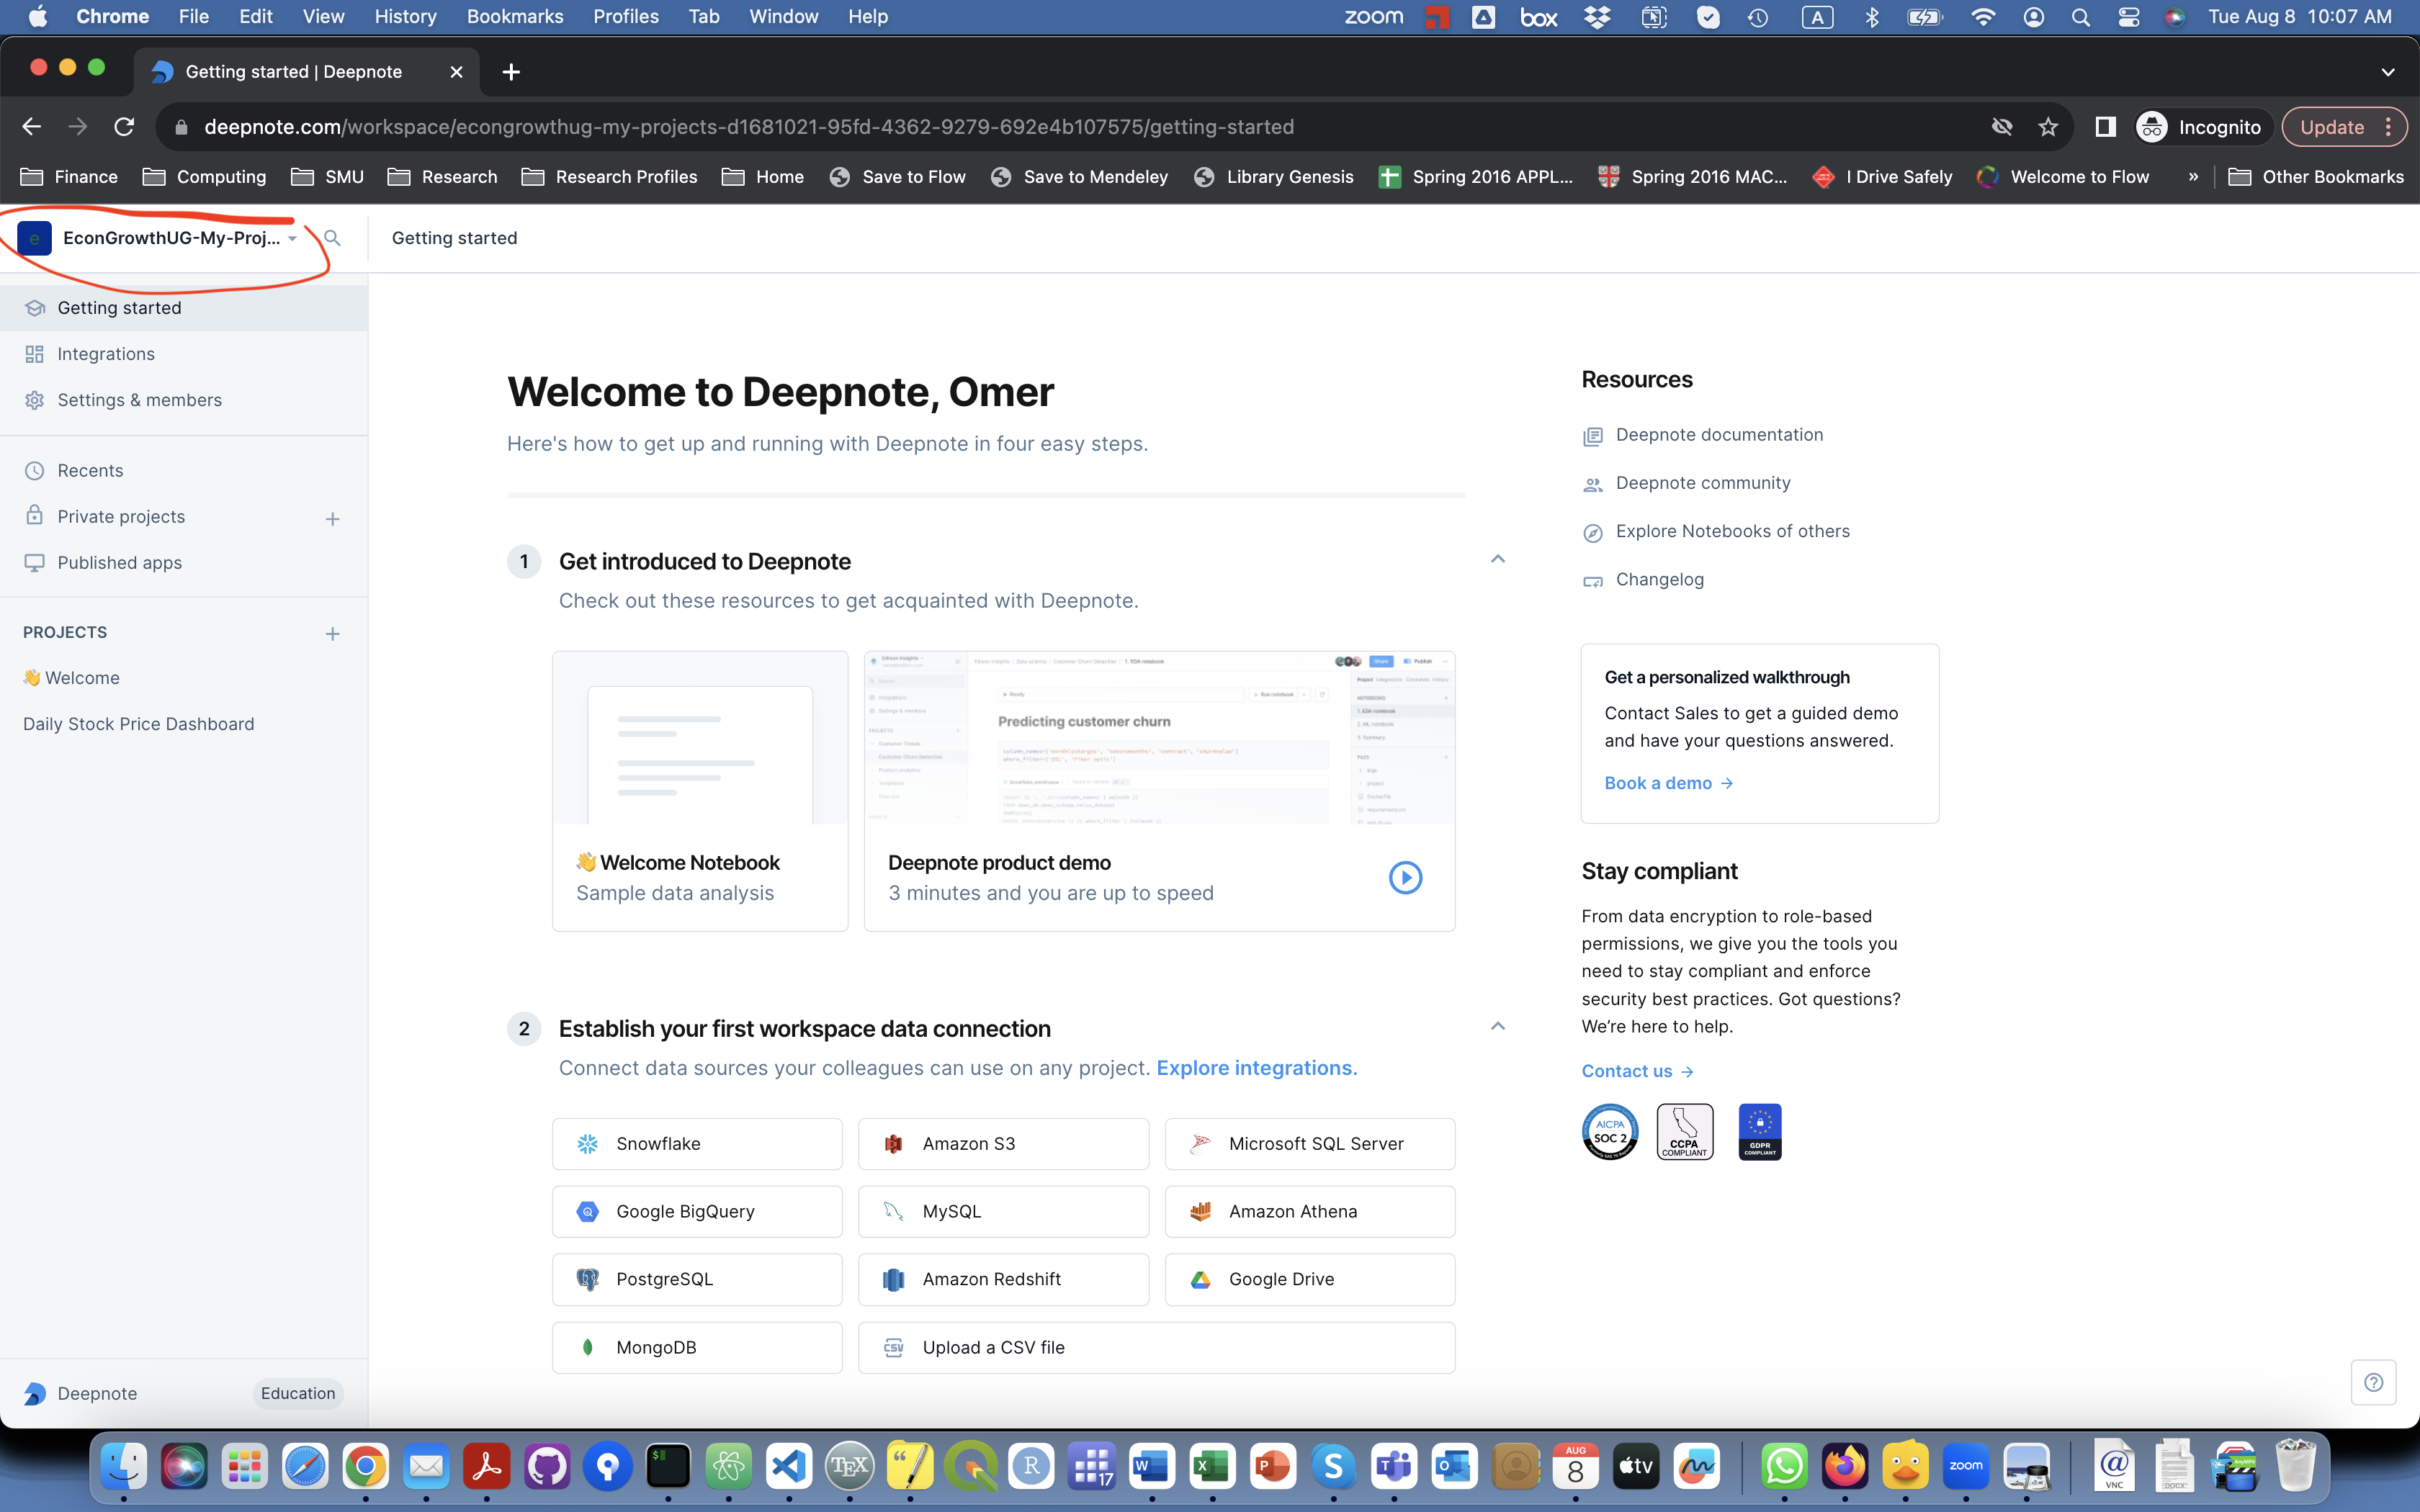
If you did all steps correctly, you should see a Welcome to Deepnote message (with your name), and on the left, you should see the name of the workspace EconGrowthUG-My-Projects.
-
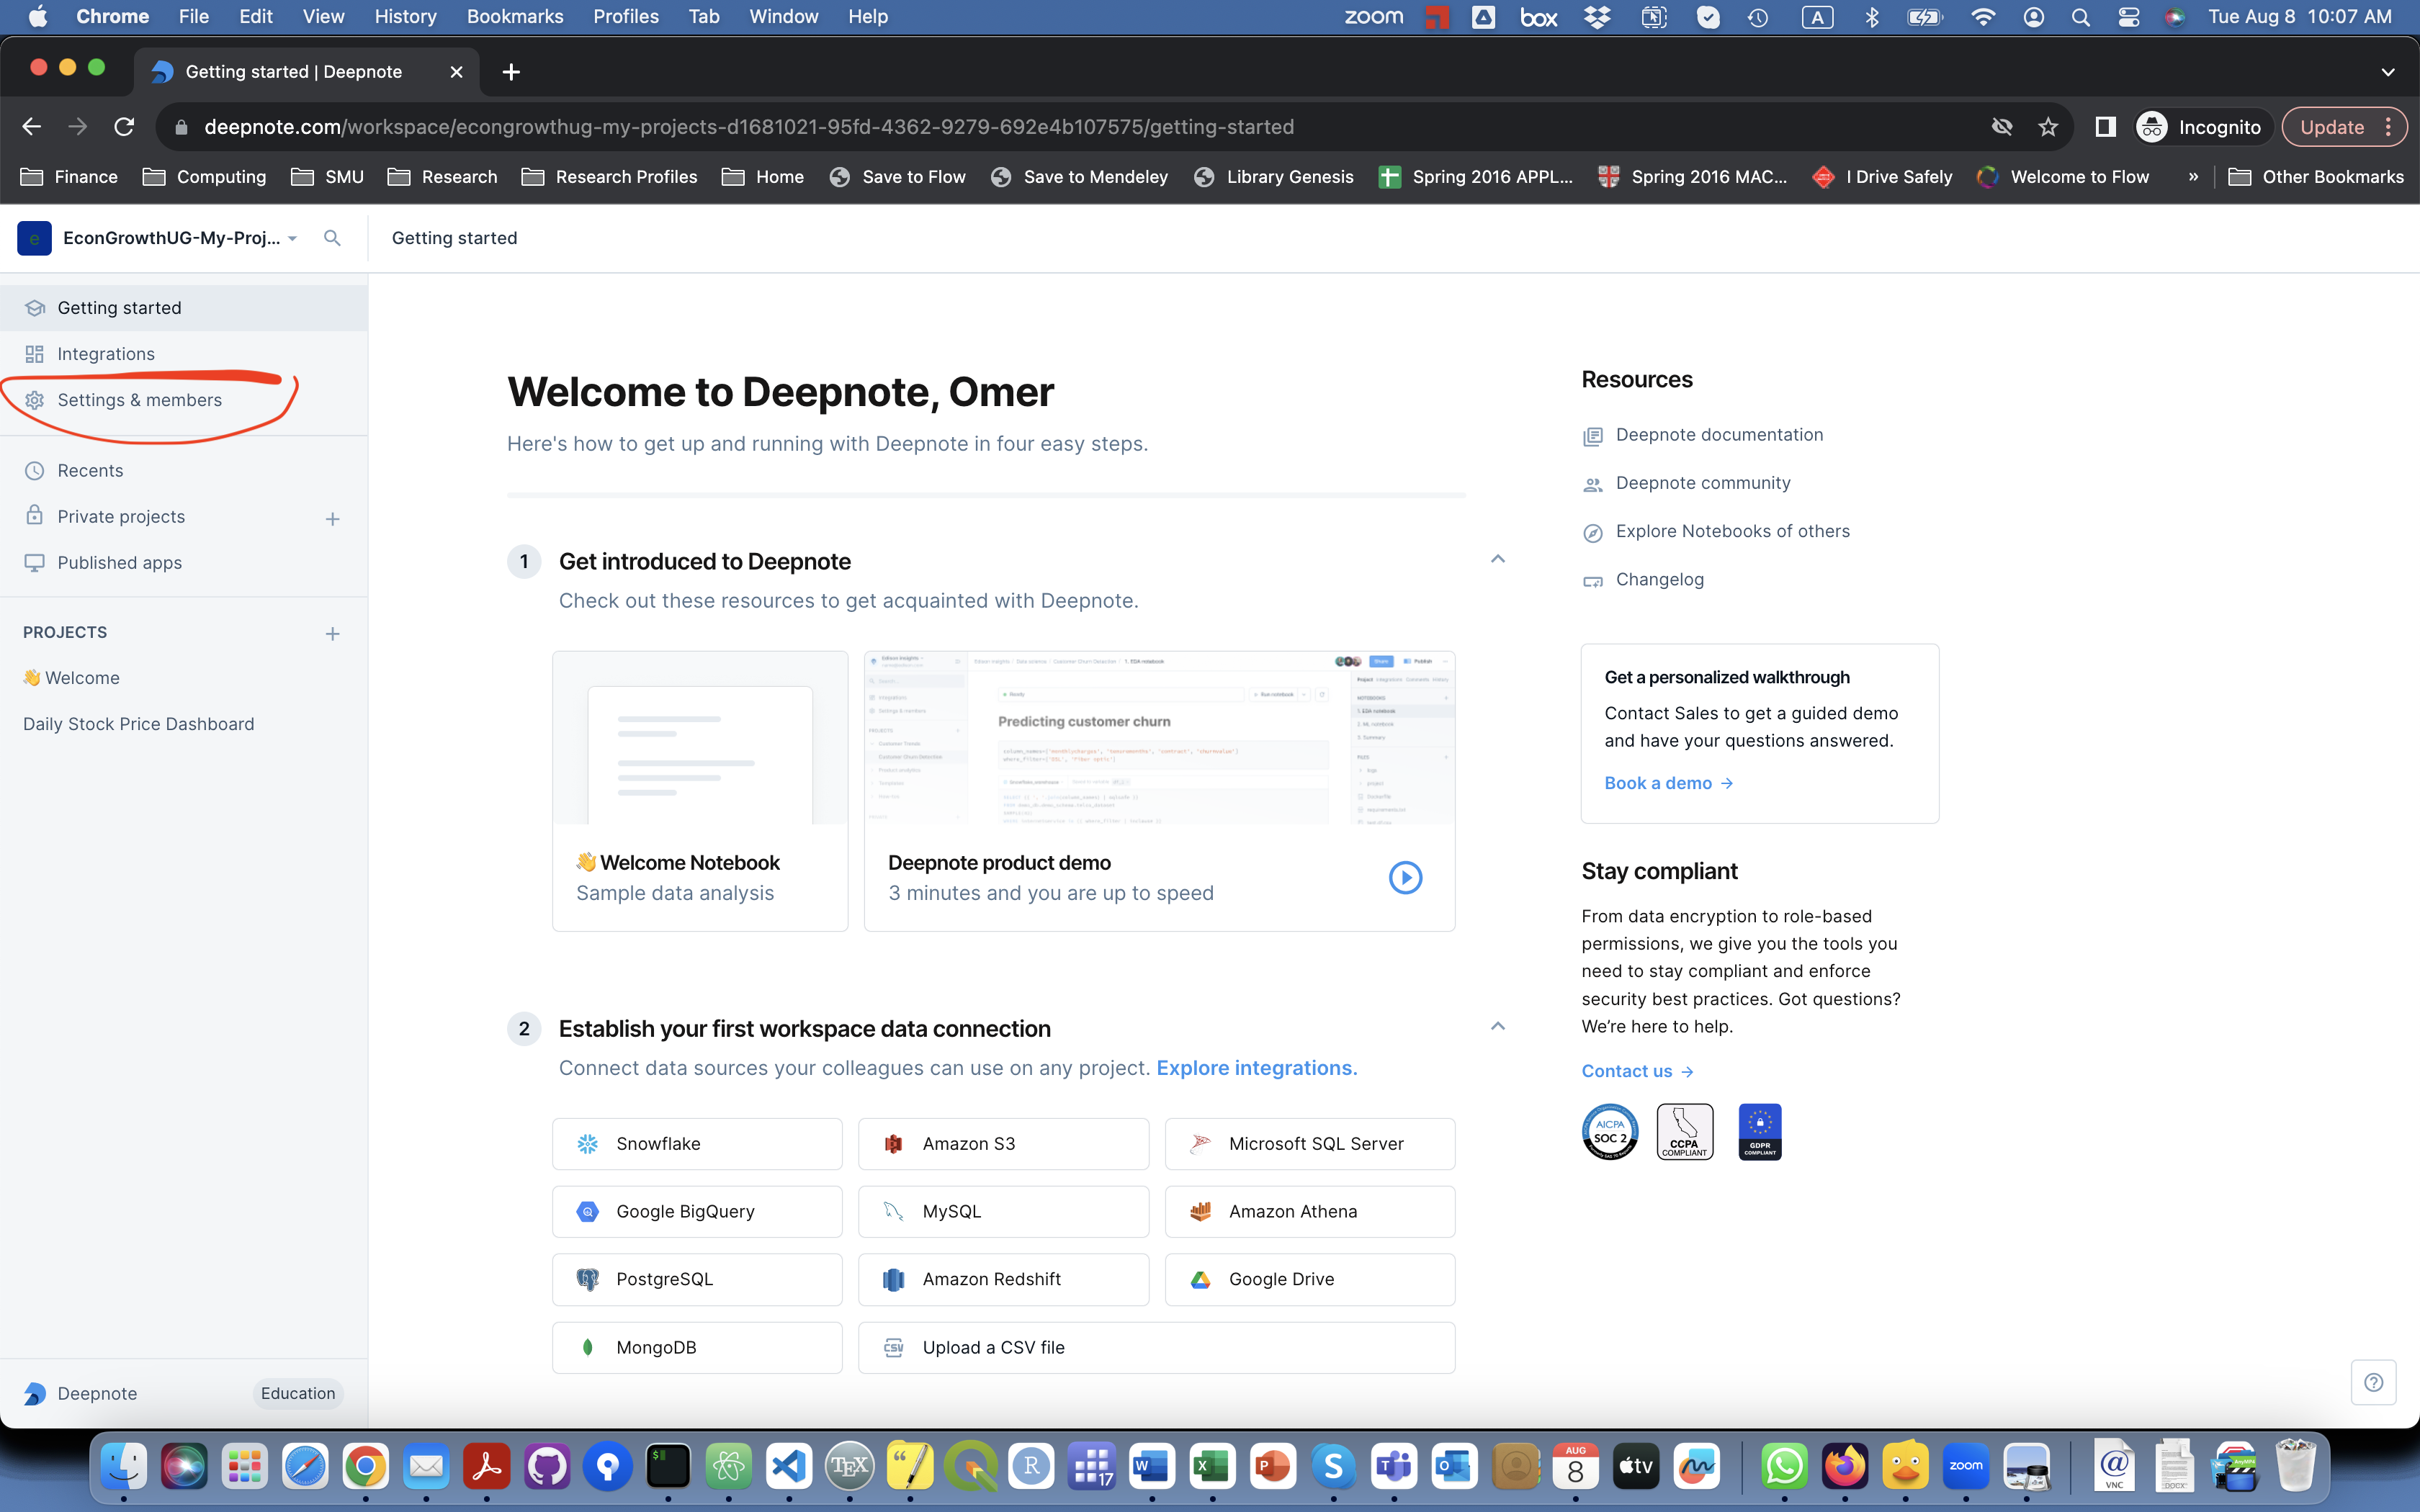
Now, let's change some settings in your workspace. Click on Settings and Members.
-
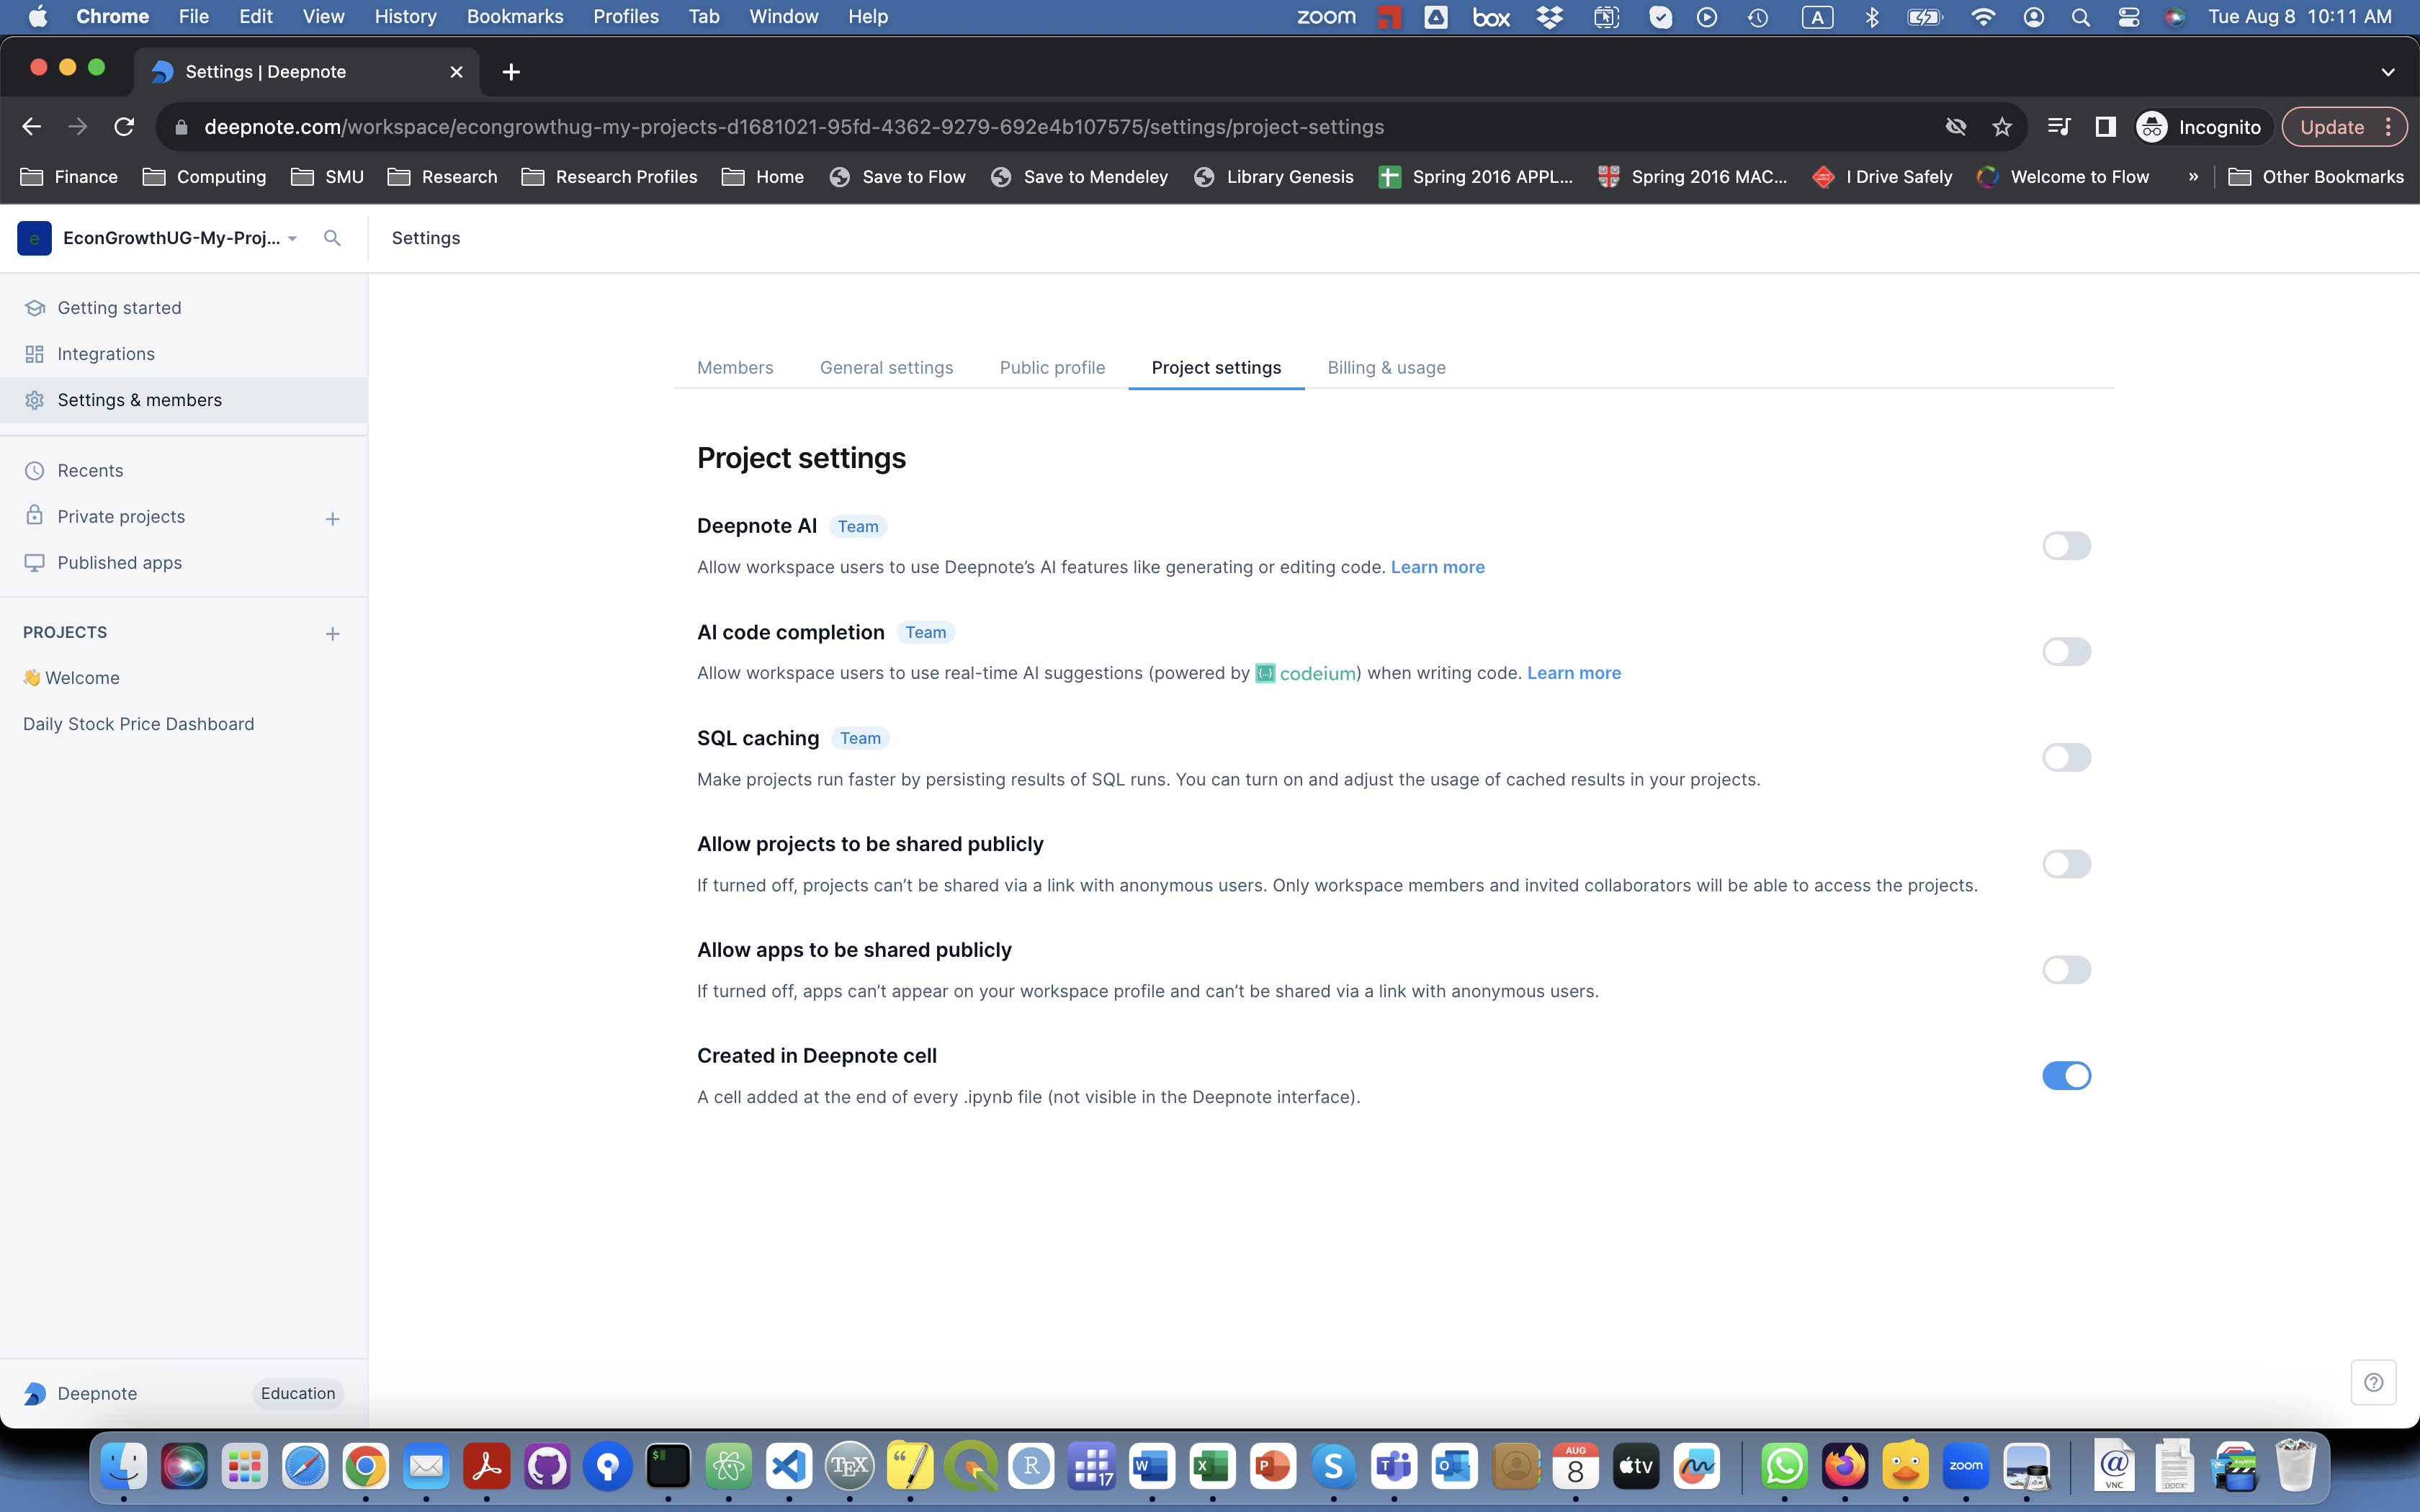
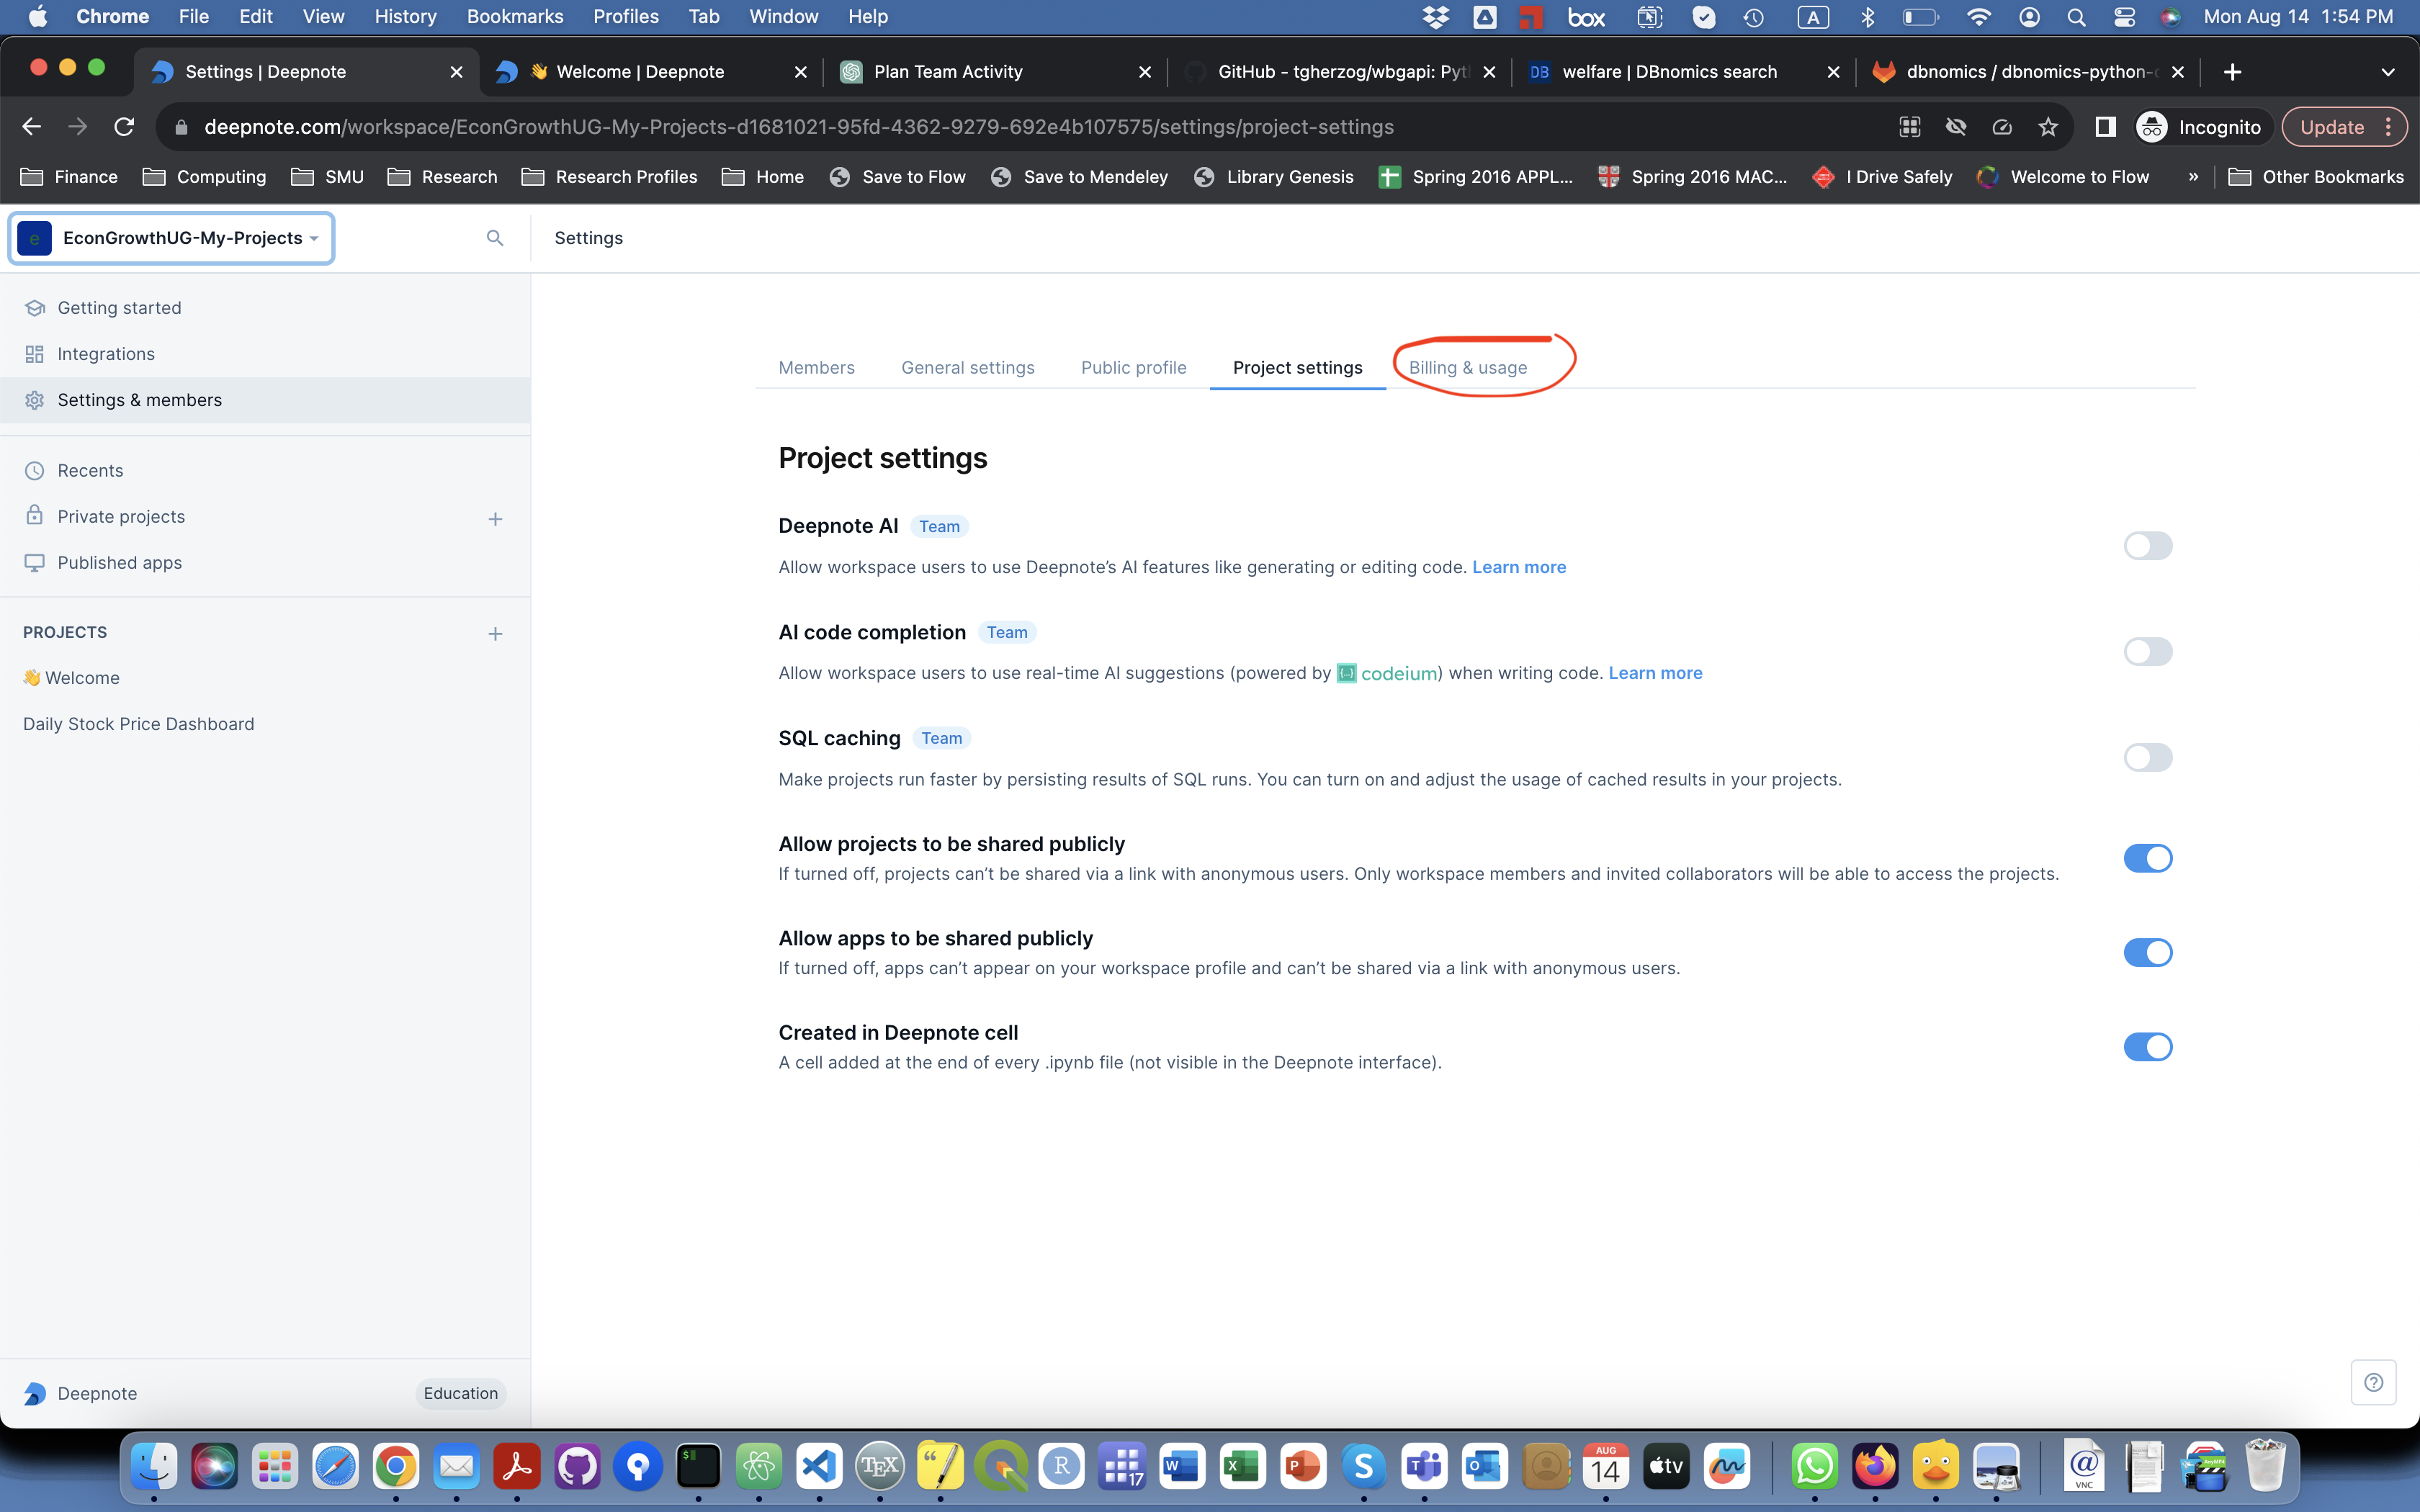
You should now see the current settings of your workspace.
-
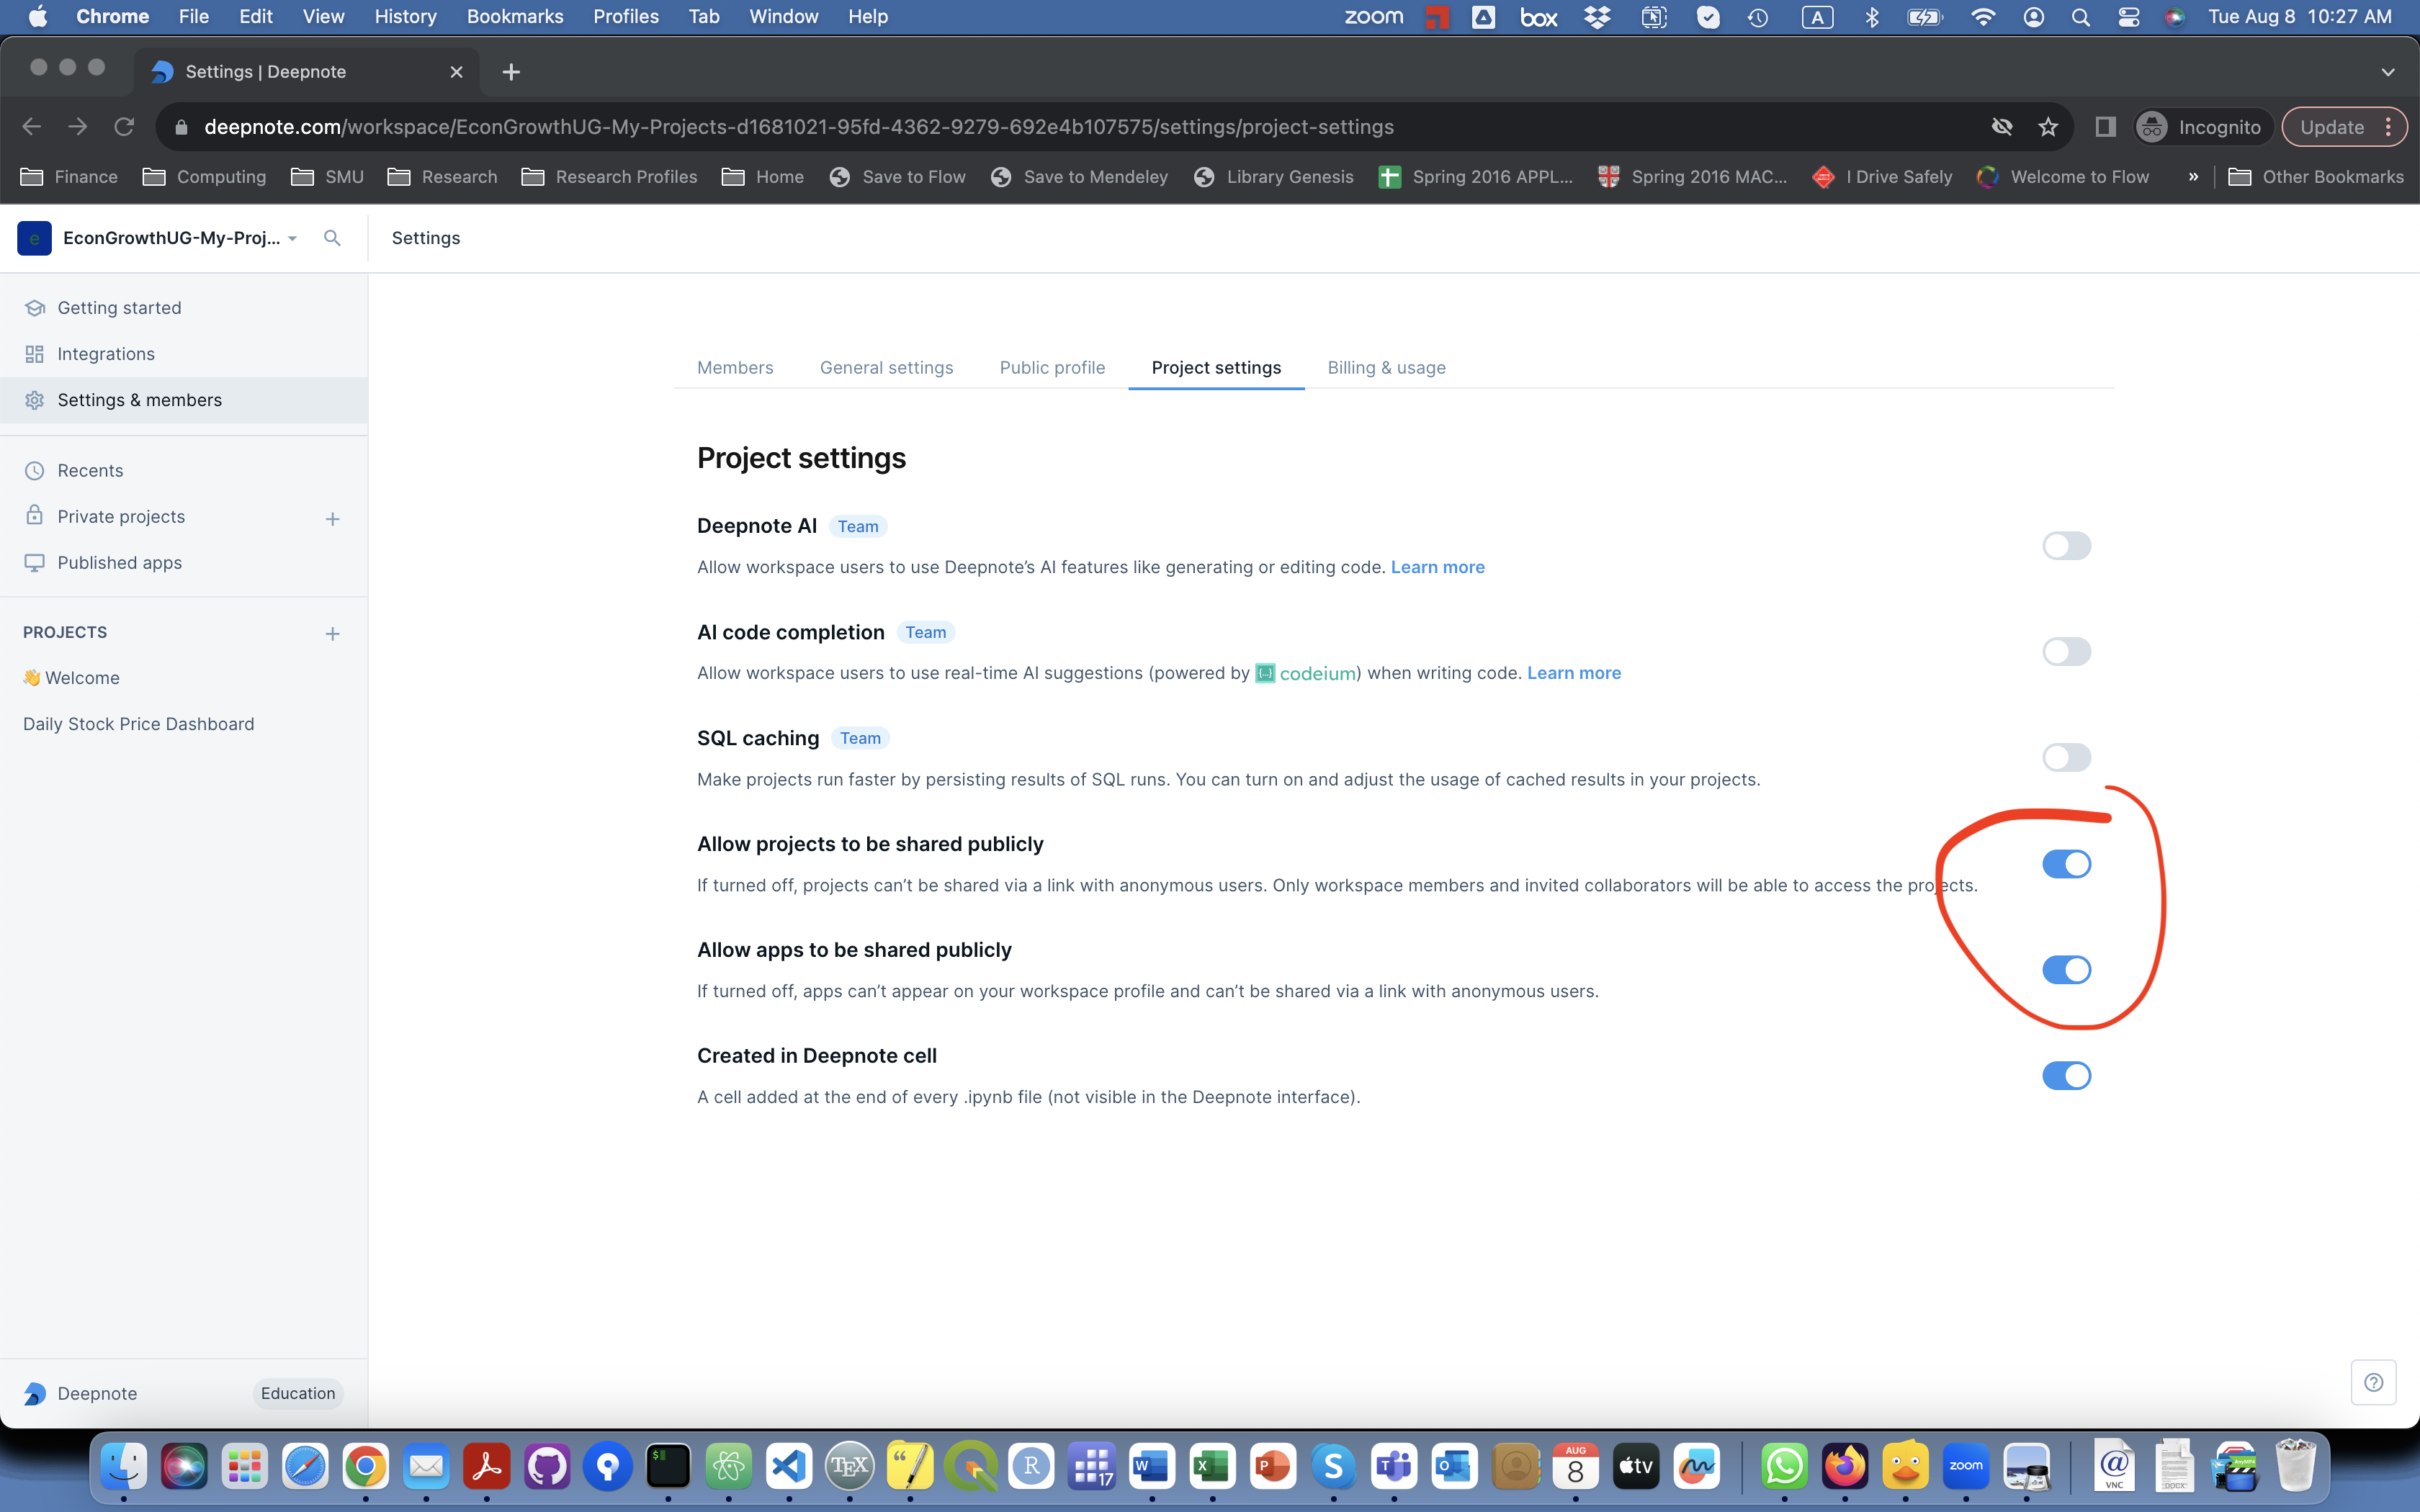
Click on Allow projects to be shared publically and on Allow apps to be shared publically. Their buttons should become active now.
You should be all set to start using Deepnote. To log in, you will use your .EDU email and use the link you get in your mail's inbox. No passwords or anything (so far).
Upgrade to Education Plan
If you created your account with an .EDU email you already have educational benefits. If you did not use an .EDU email, e.g., you used your personal email account, you may need to request educational benefits as explained below.
-
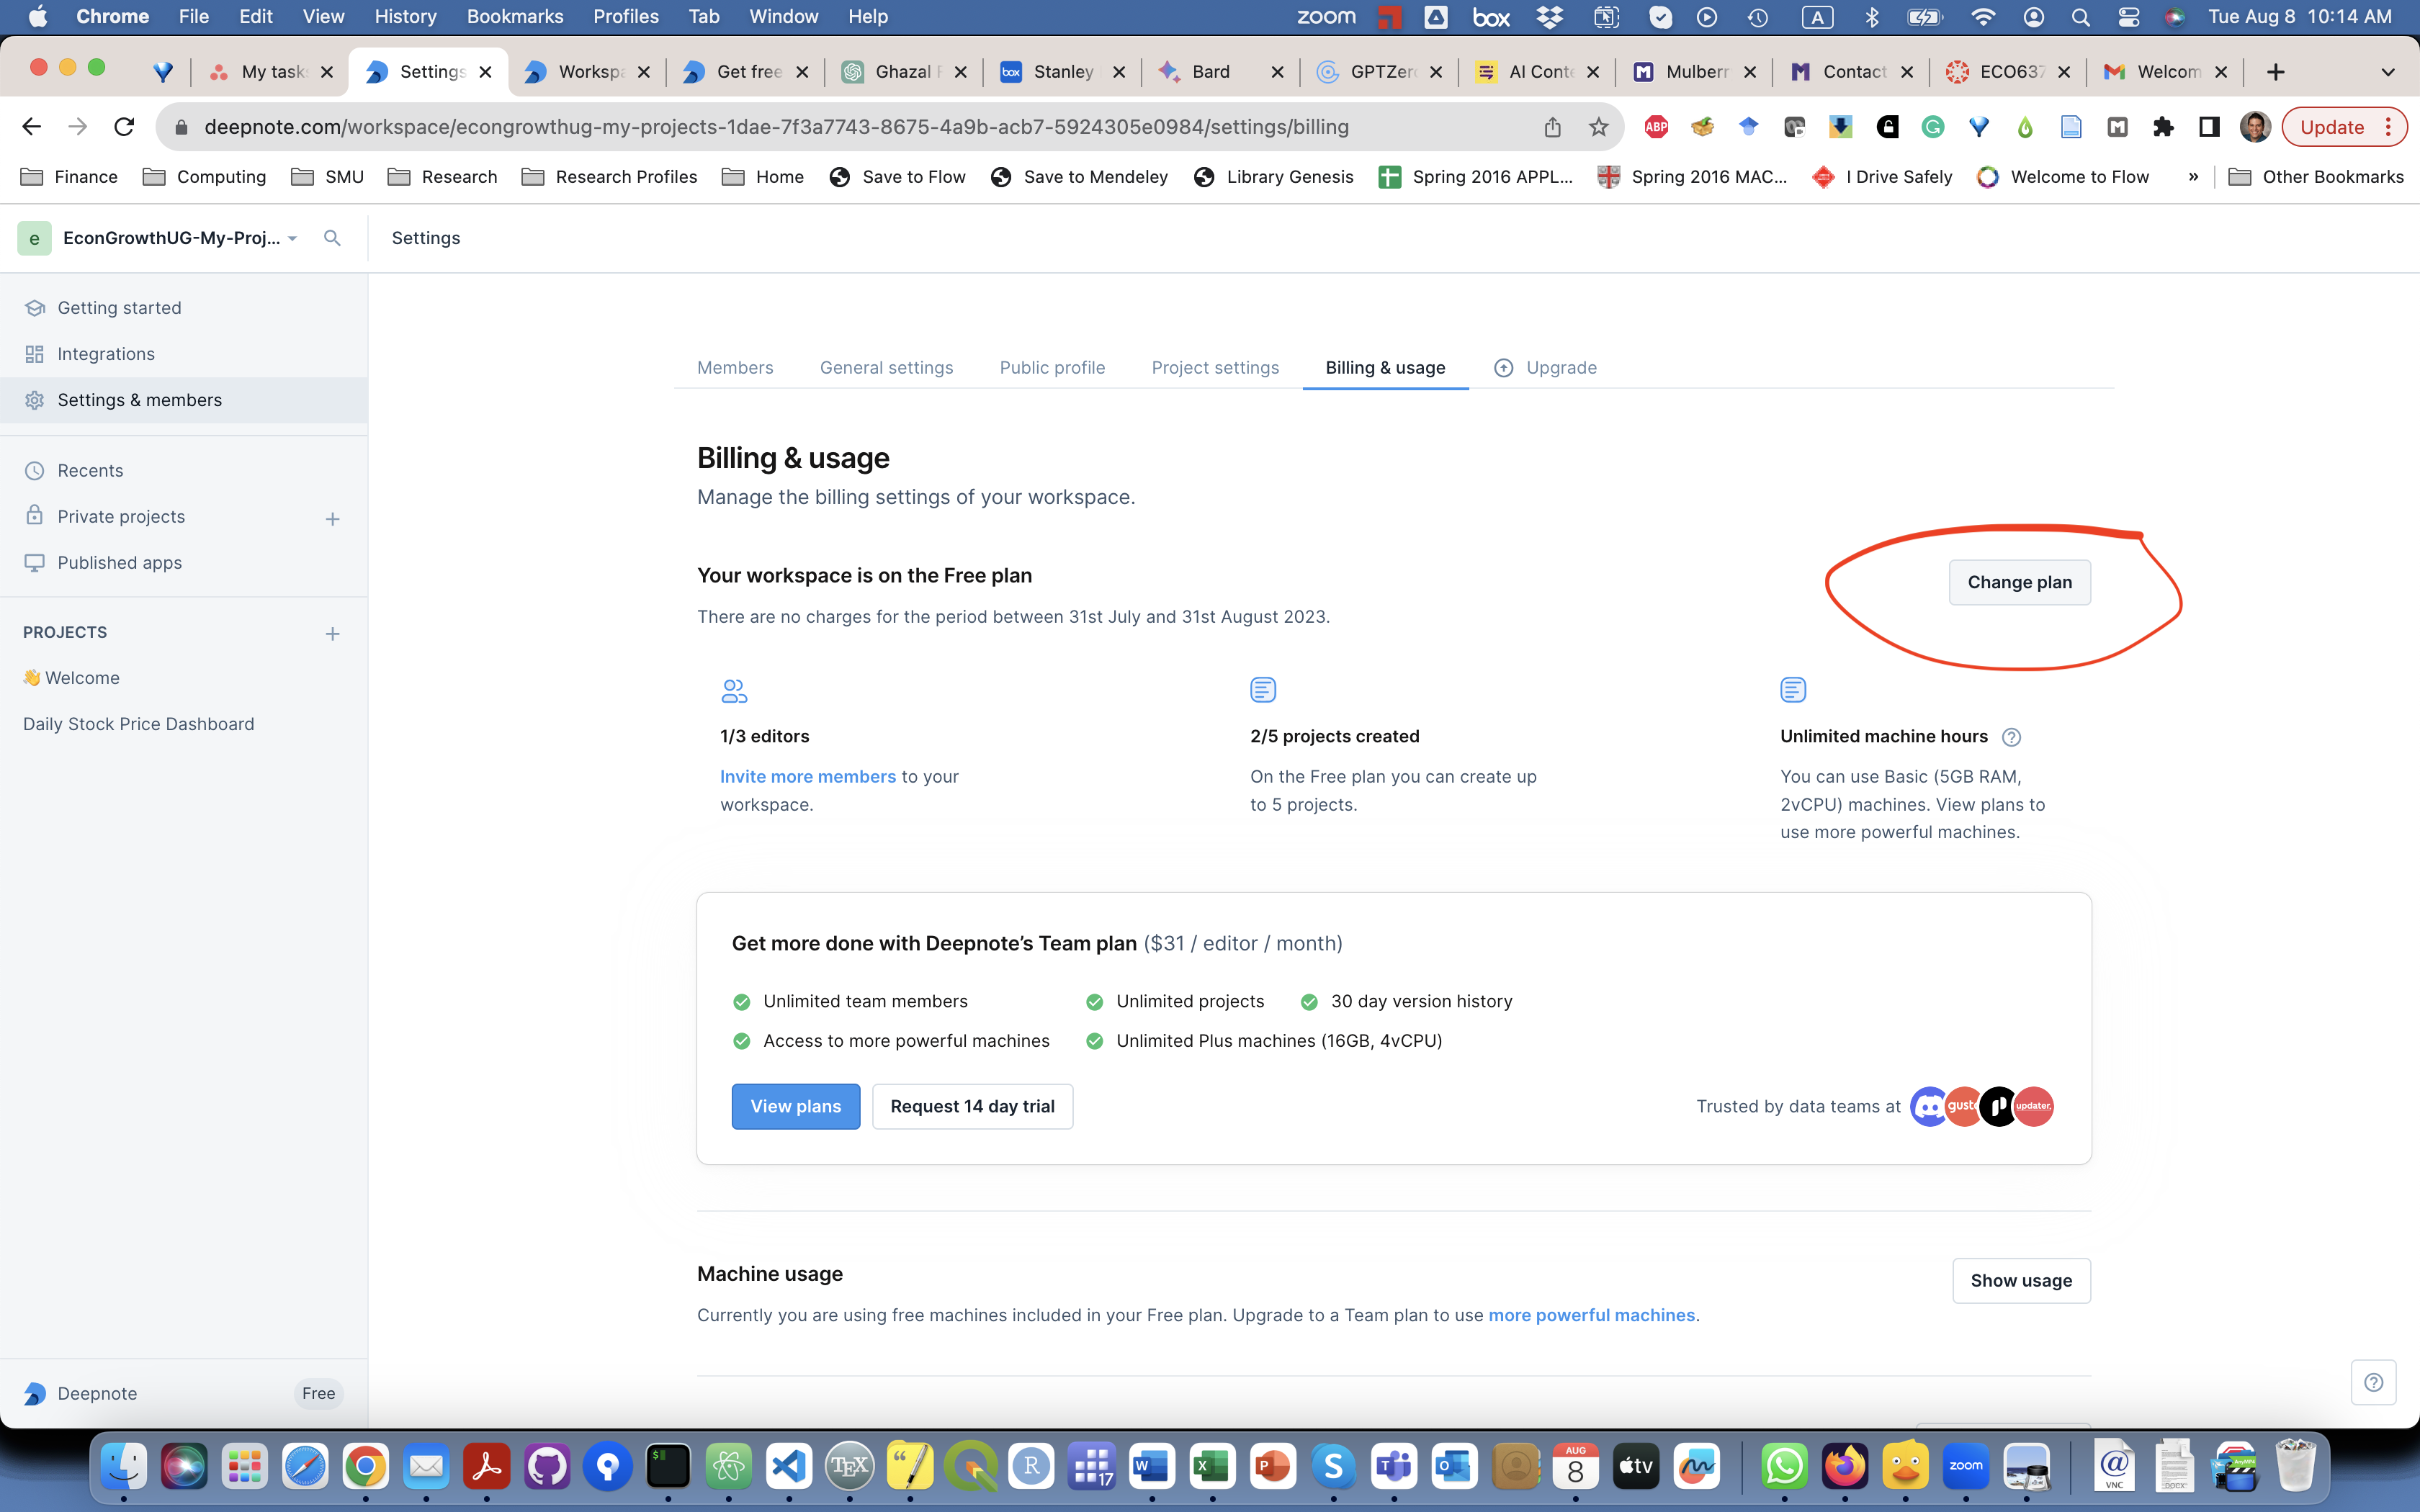
Click on Billing & usage.
-
Click on Change plan.
-
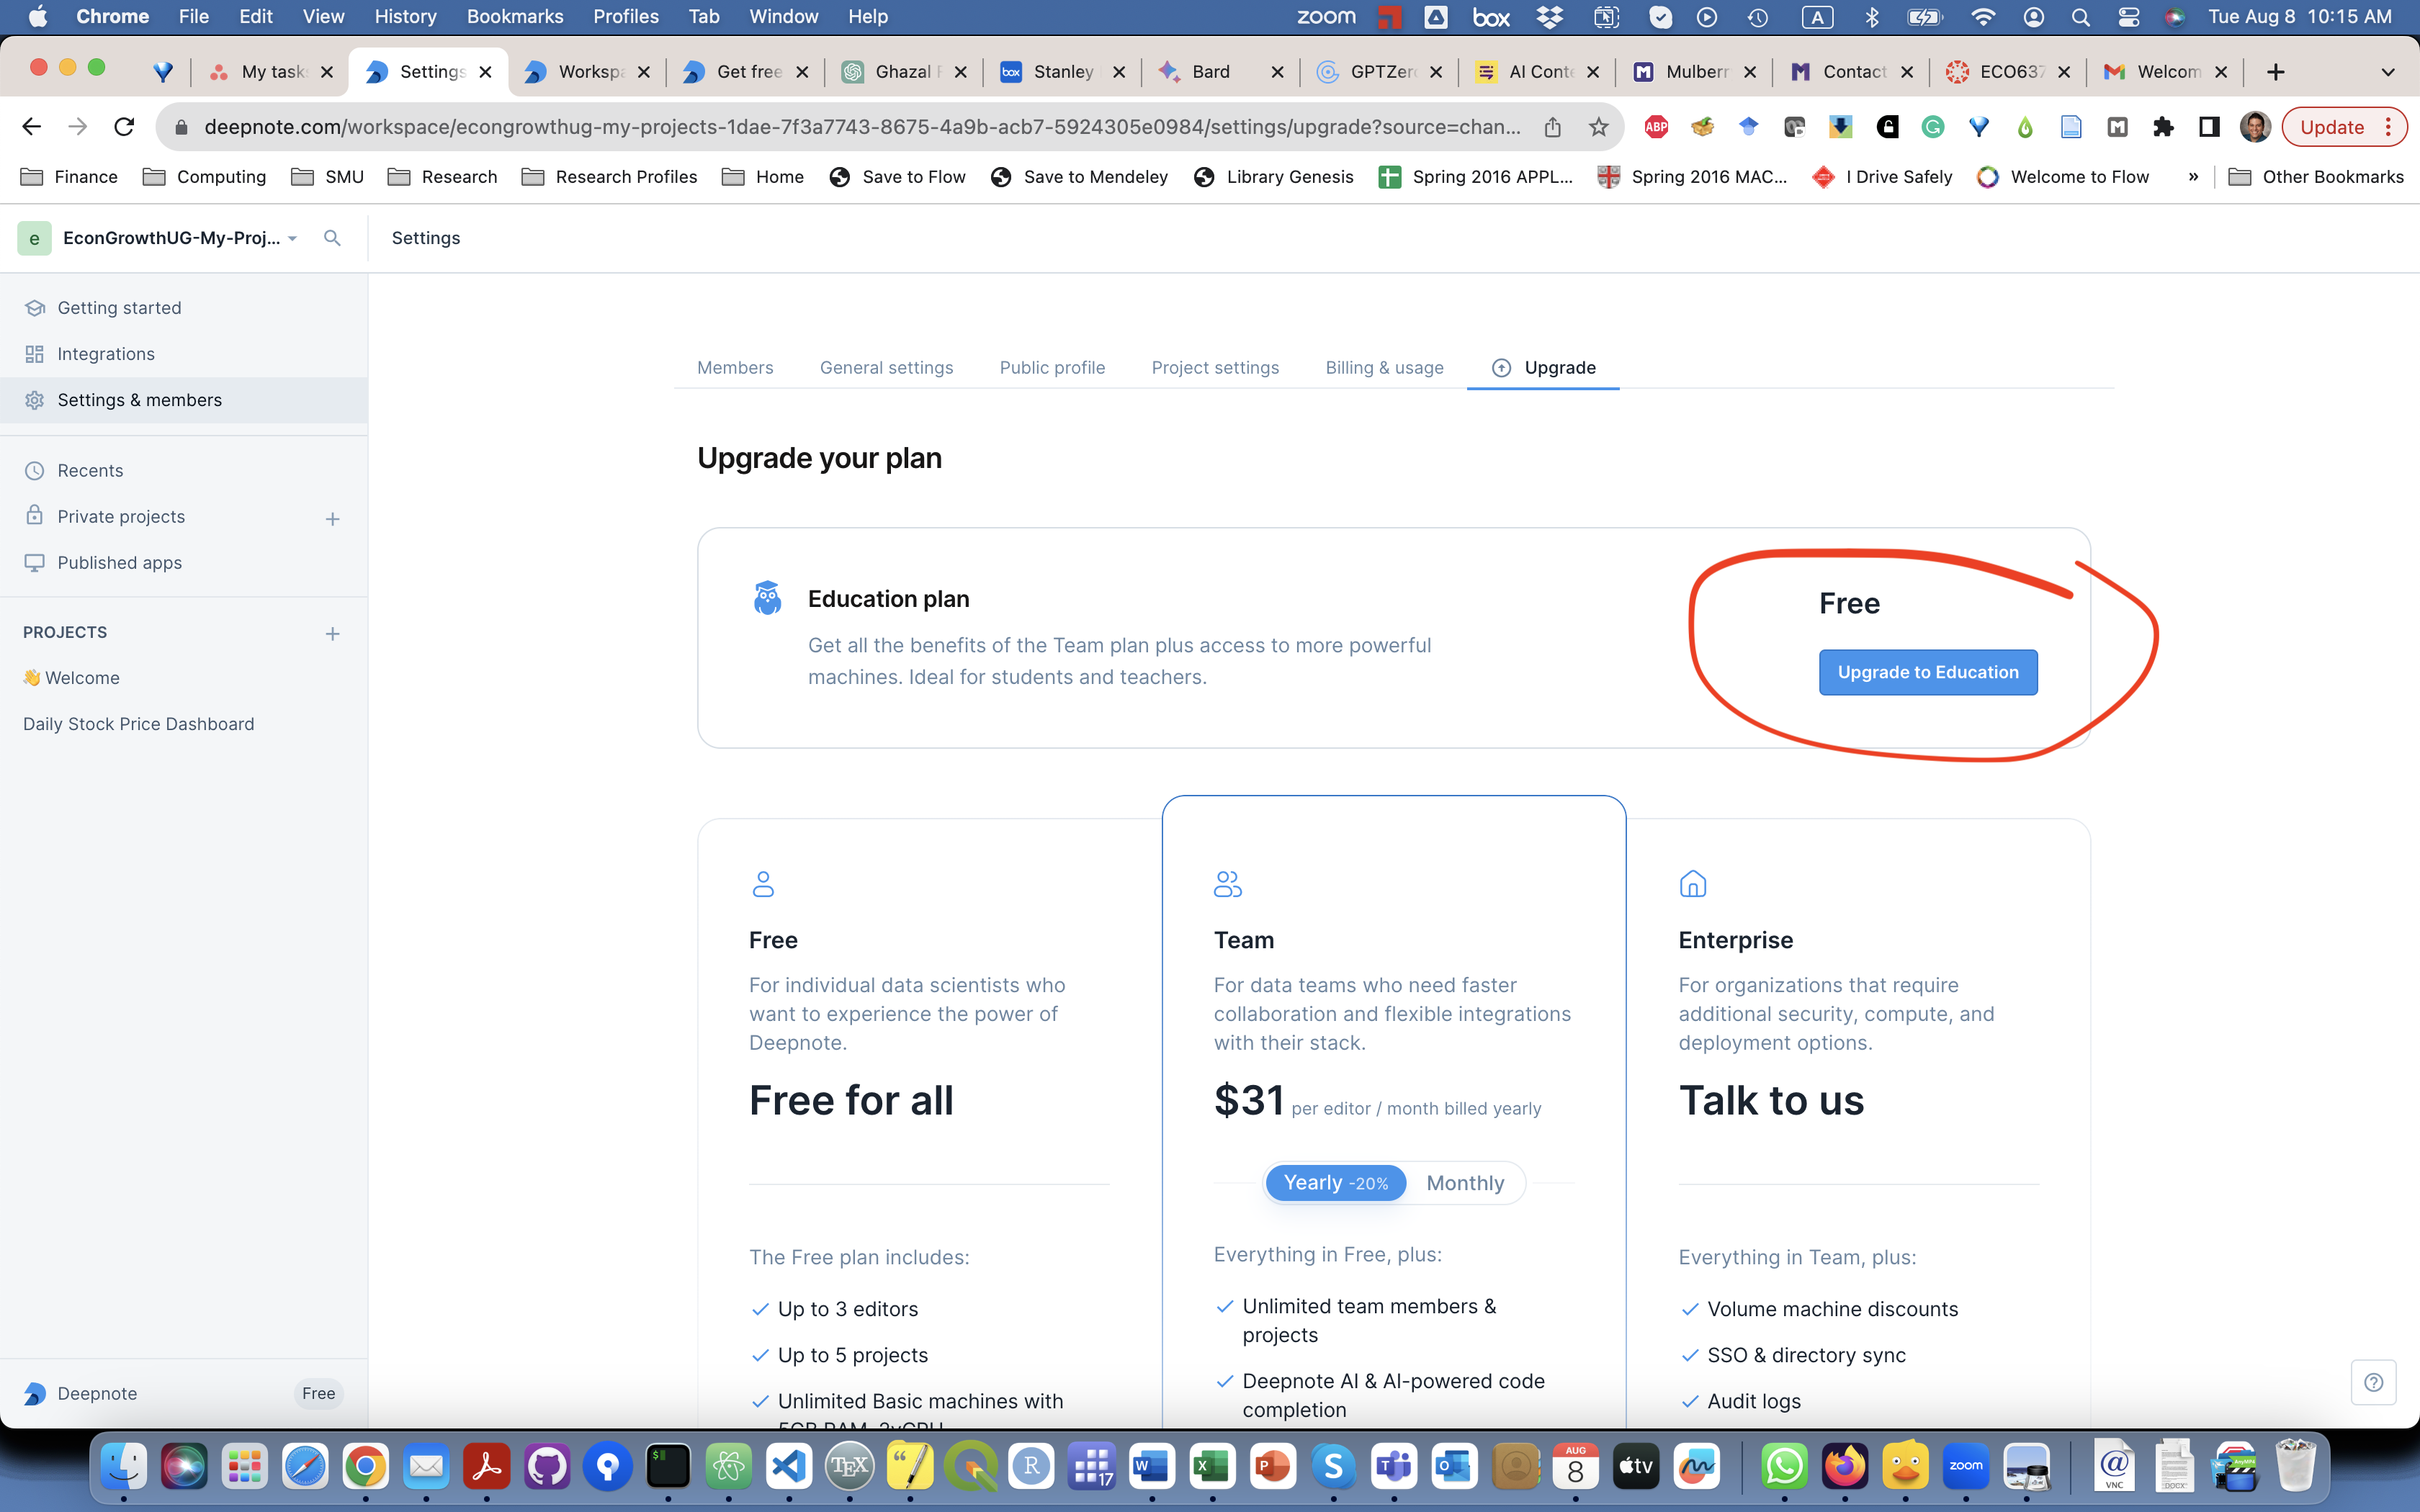
Now, you should be on the Upgrade page. Click on Upgrade to Education.
-
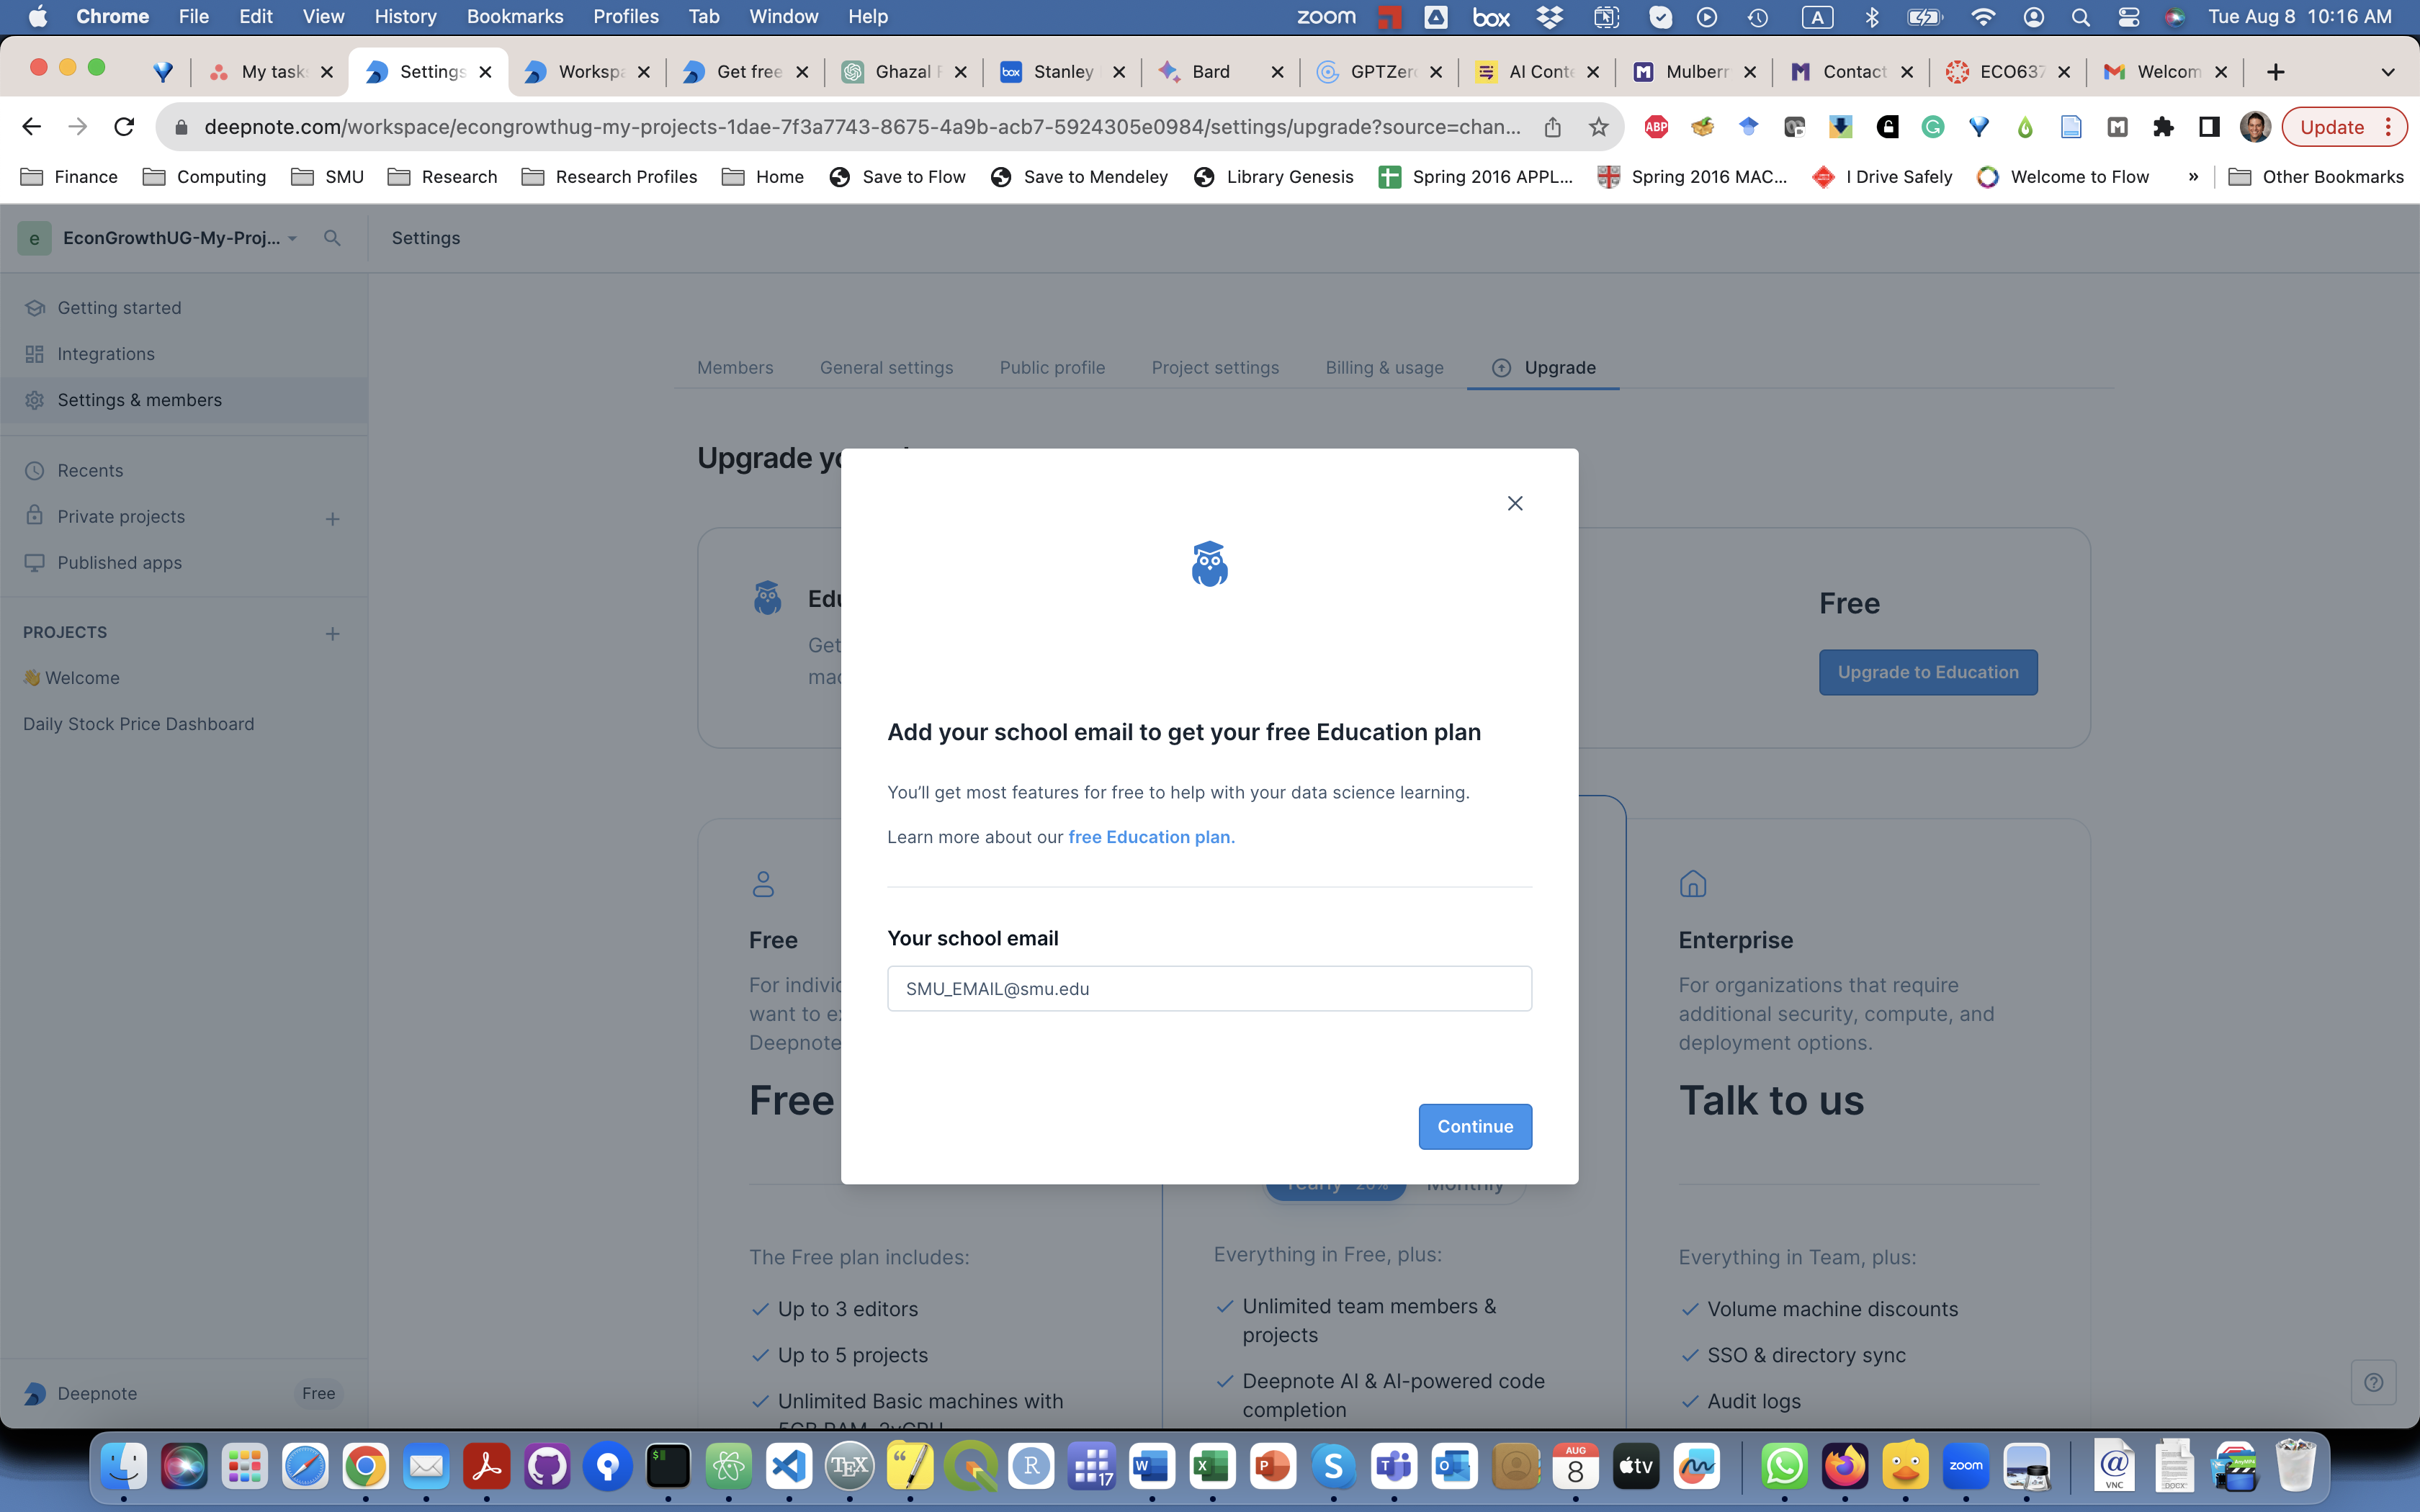
Use your YOUREMAIL@SMU.EDU to fill out the required information.
-
The system will send you another verification email. Click on Verify my email.
-
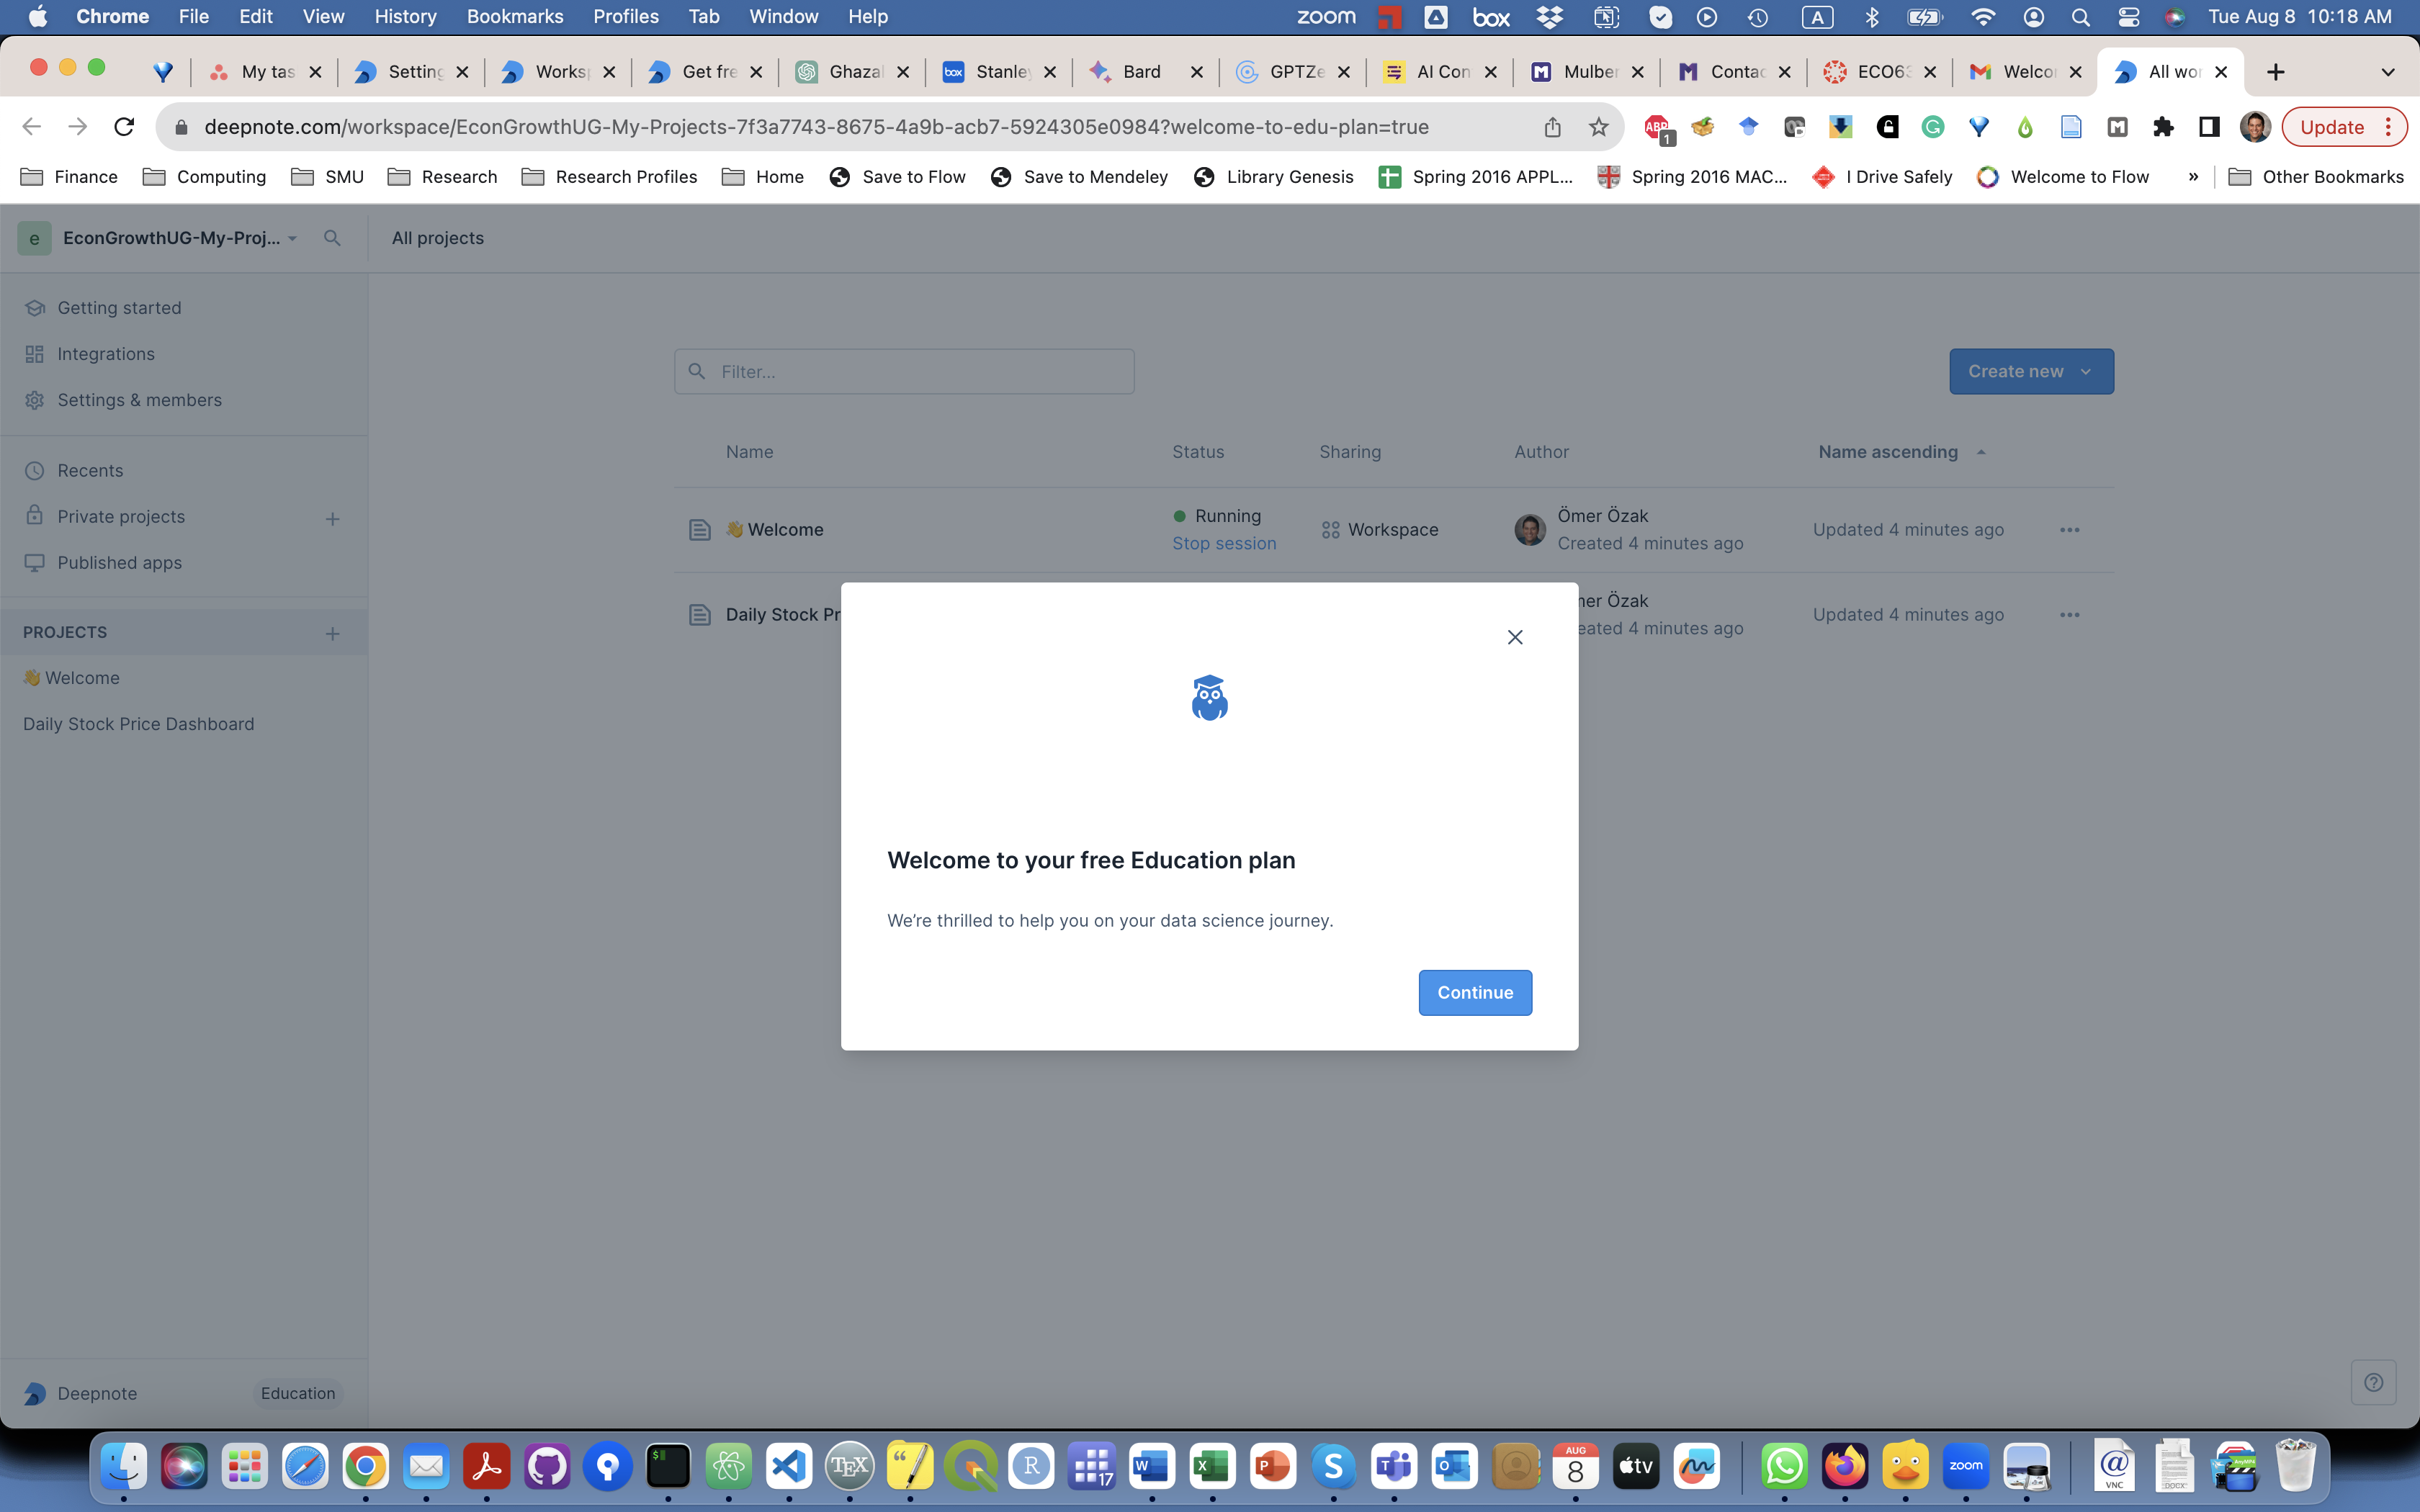
Now, you should see a Welcome to Education Plan message.
If you want to find out more about the Educational Plan or have issues, check out their information website. You can also chat with them if you need support or ask questions in their community forum.
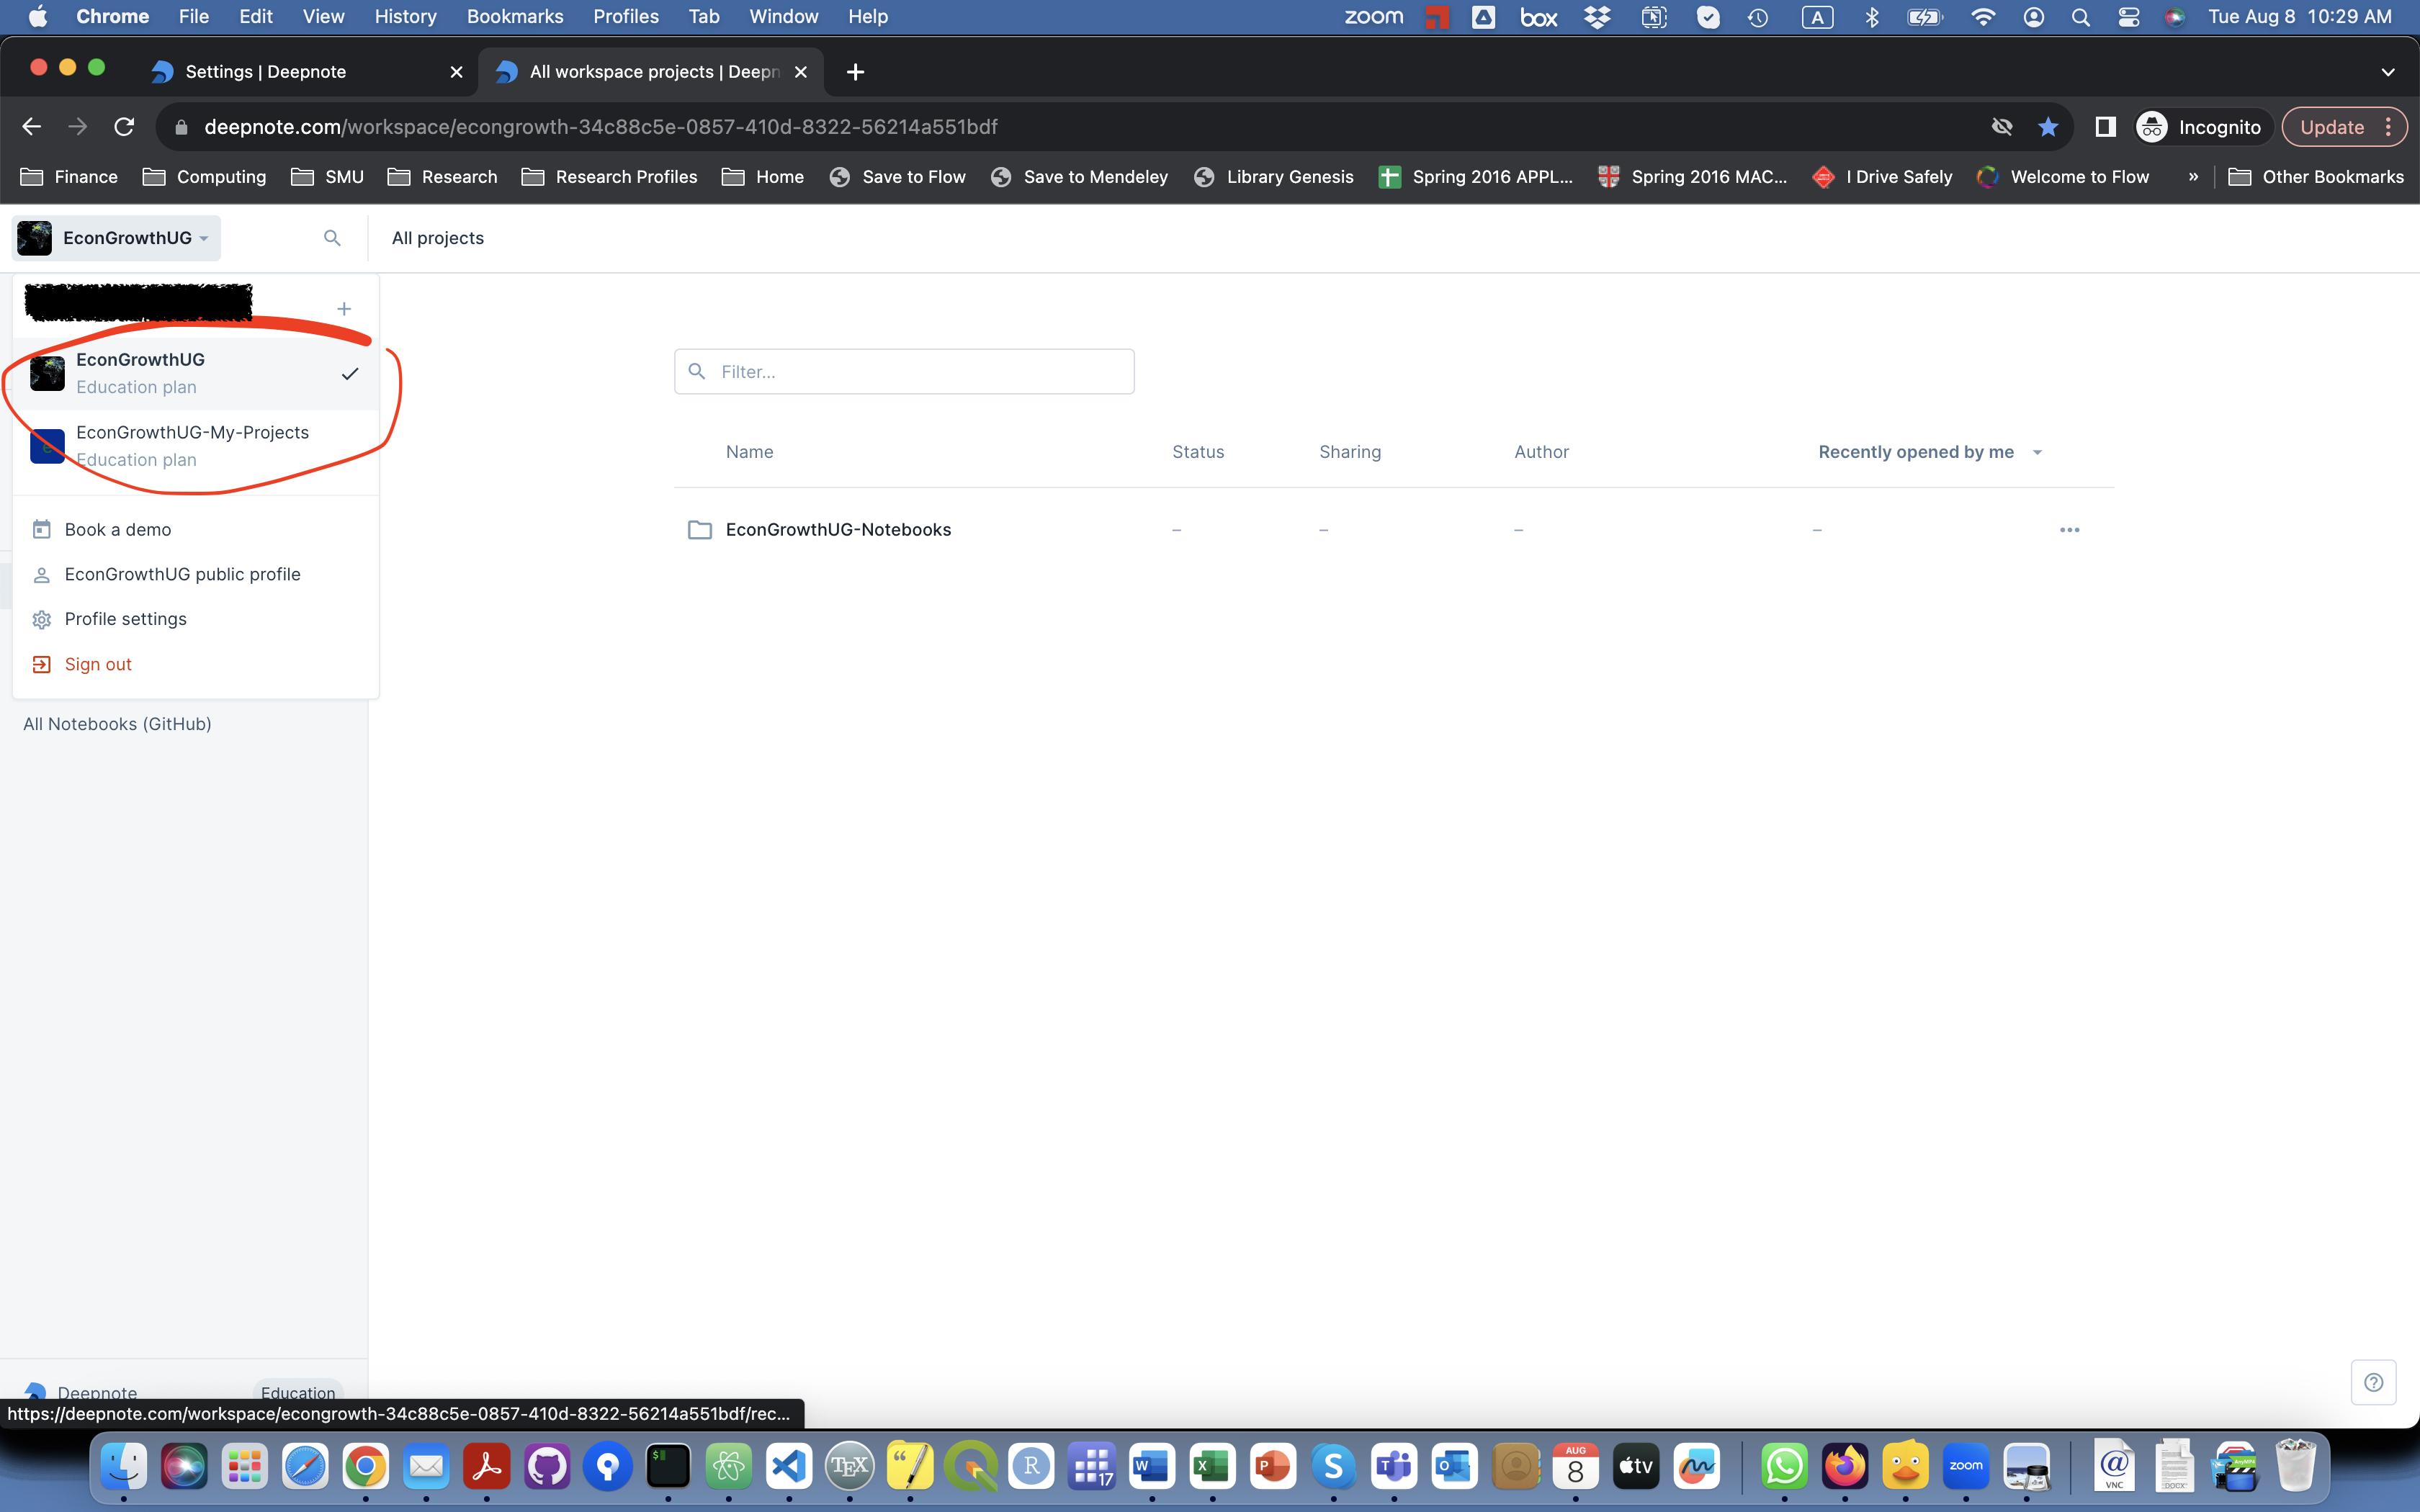
Add EconGrowthUG Workspace to your Deepnote account
You can use all the notebooks on this website on Deepnote, by adding the EconGrowthUG Workspace to your account. You will not have editing privileges, but you will be able to copy notebooks to your EconGrowthUG-My-Projects Workspace, where you can edit and run code.
- Log into your Deepnote account.
- Follow this link to the EconGrowthUG workspace.
-
Once you do this, you will be a Contributor to the course's workspace, i.e., you can view and run code I have prepared for you. Moreover, and more importantly, you can copy projects into your own workspace. If all went you should see two workspaces in your account.